This card has a spring like feel to it with a feminine touch. If you want a card that is real girly girl, this is the one for you.
 You'll spend most of the time to make this card with inking and embossing. It takes a while but you get a really pretty look. If you've never done any heat embossing before, you might find this project a little difficult.
White card stock 5 1/2 x 8 1/2" for base card, 4 x 5 1/4", 3 x 3 3/4", 2 3/4 x 3 1/2",1 3/4 x 2 3/4",
1 3/8 X 2 3/8"
Pale pink card stock2 X 3", 1 1/2 X 2 1/2"
Marina Mist ink
Regal Rose ink
More Mustard ink
Versa Mark ink
Clear Embossing Powder
Regarding Dahlias stamp set (#130327)
Trust God stamp set (#126702)
3/8" Melon Mambo Striped Organdy ribbon (#129293)
Sherbet Buttons (#116312) or other buttons that has a pale pink
Paper Piercing Pack
Paper Piercing Tool
Paper Piercing mat or mouse pad
Glue Dots
1. Distress the 4 x 5 1/4" piece, the 2 3/4 x 3 1/2" piece and the 1 3/4 x 2 3/4" piece of white card stock. I start with the yellow ink. Dab the felt or other distressing medium on the More Mustard ink pad and then directly onto the white card stock. Next, do the same thing with the Regal Rose ink going over top of the More Mustard. Finish with the Marina Mist ink over the Regal Rose. You will not cover the card stock solid with any one color. As you dab the ink onto the card stock, use a rubbing motion to get a good coverage around the card stock.


2. Ink your image (I used the dahlia from the stamp set) with the Versa Mark ink. Stamp it randomly around the distressed card stock.
 3. Place the card stock in a tray, on a lid or a sheet of paper. Sprinkle clear embossing powder to cover the card stock.

 Shake off any excess powder. Return excess powder to the jar to use in your next embossing project.
4. Heat the entire card stock until the embossing powder melts.

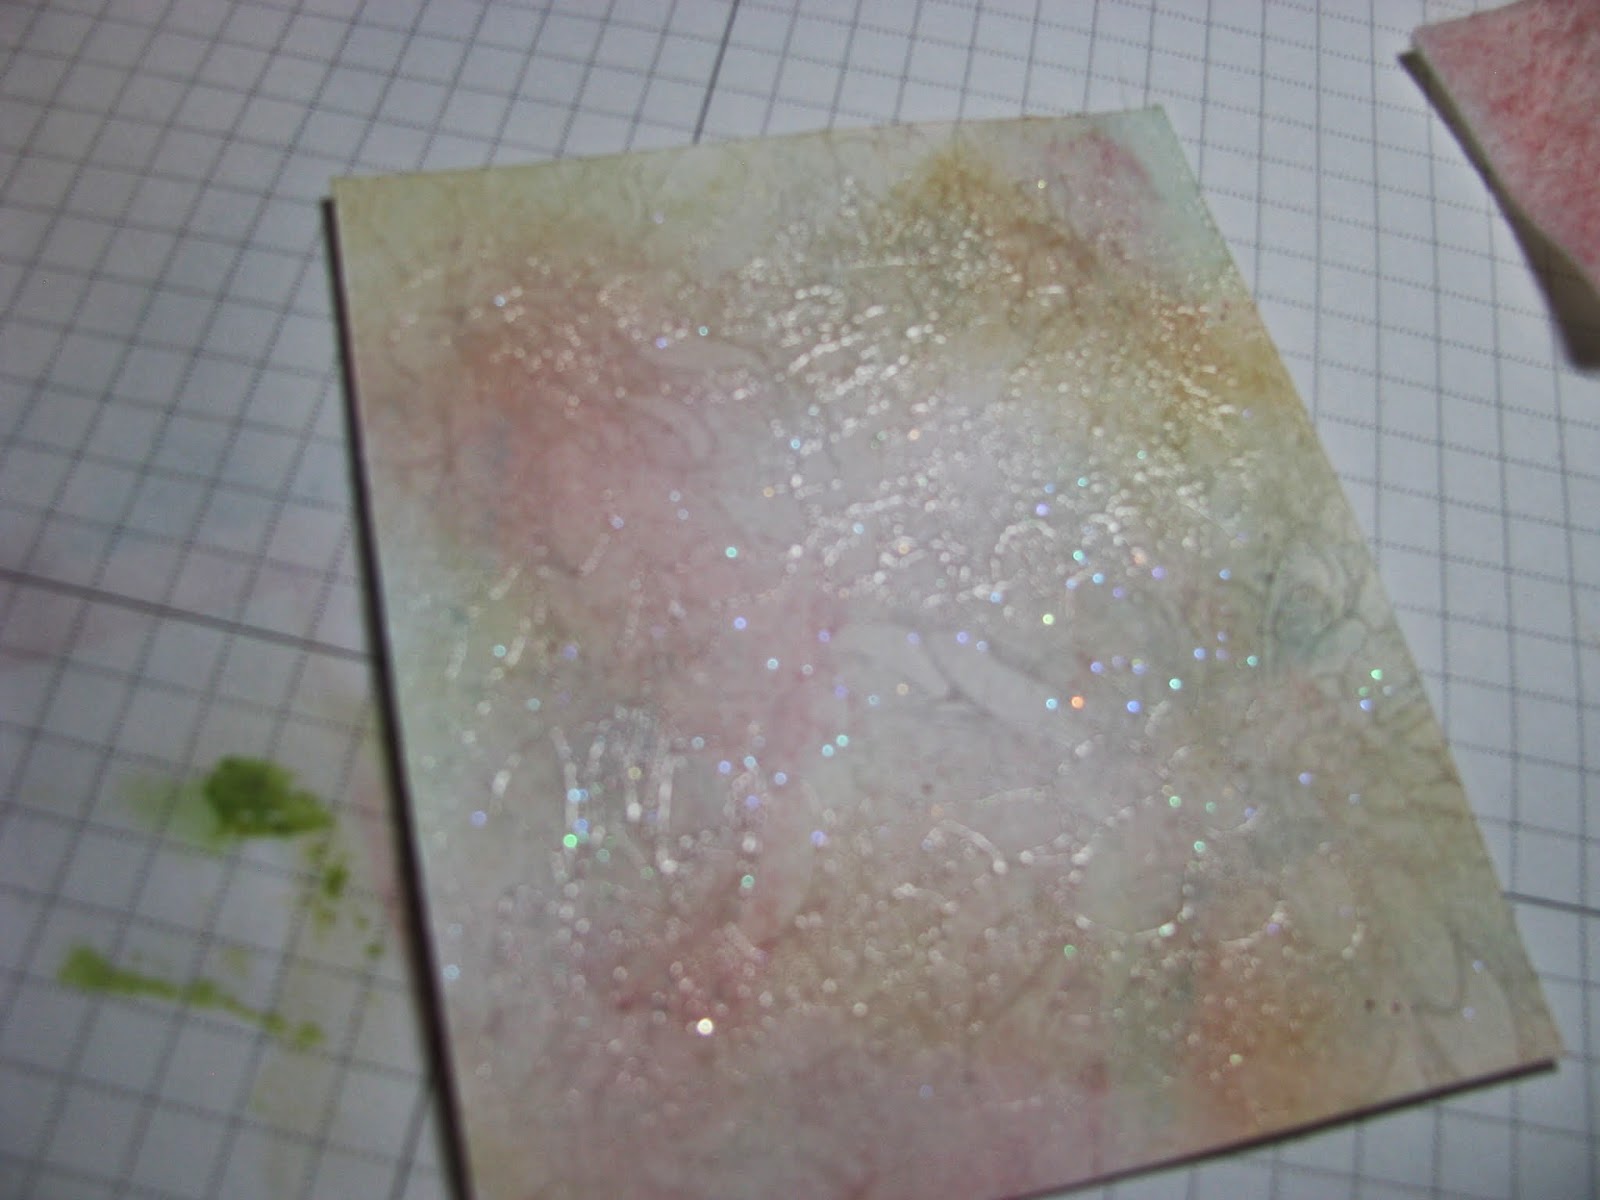 When it is melted, it will have a glossy, shiny look.
Repeat this technique with the 3 pieces of white card stock.
5. Adhere the embossed card stock on to the plain white card stock leaving about 1/8" border all the way around each piece. The smallest embossed piece should be adhered to a piece of pale pink card stock. Layer the layers according to size with the smallest on top.
6. With the smallest piece of card stock, stamp a greeting from the Trust God stamp set in the center with Regal Rose ink. Use Marina Mist ink to distress with the blue around the outer edge of the card stock. Adhere it to the other piece of pale pink card stock with a border around the greeting piece.
7. Using the Paper Piercing tool or a very sharp needle(not recommended but it will work) punch holes all the way around the white card stock with the saying. Adhere this to the bottom right side of the card, overlapping the other layers.
8. Wrap ribbon around the right side of the card and tie in a bow. Sometimes I use glue dots to keep my bow in place.
9. Place glue dots on the back of a large pink button and adhere to the top left rectangle as shown in the picture.
10. Adhere the card front on to the card base, leaving a white border all the way around the card.
White card stock 5 1/2 x 8 1/2" for base card, 4 x 5 1/4", 3 x 3 3/4", 2 3/4 x 3 1/2",1 3/4 x 2 3/4",
1 3/8 X 2 3/8"
Pale pink card stock2 X 3", 1 1/2 X 2 1/2"
Marina Mist ink
Regal Rose ink
More Mustard ink
Versa Mark ink
Clear Embossing Powder
Regarding Dahlias stamp set (#130327)
Trust God stamp set (#126702)
3/8" Melon Mambo Striped Organdy ribbon (#129293)
Sherbet Buttons (#116312) or other buttons that has a pale pink
Paper Piercing Pack
Paper Piercing Tool
Paper Piercing mat or mouse pad
Glue Dots
1. Distress the 4 x 5 1/4" piece, the 2 3/4 x 3 1/2" piece and the 1 3/4 x 2 3/4" piece of white card stock. I start with the yellow ink. Dab the felt or other distressing medium on the More Mustard ink pad and then directly onto the white card stock. Next, do the same thing with the Regal Rose ink going over top of the More Mustard. Finish with the Marina Mist ink over the Regal Rose. You will not cover the card stock solid with any one color. As you dab the ink onto the card stock, use a rubbing motion to get a good coverage around the card stock.
2. Ink your image (I used the dahlia from the stamp set) with the Versa Mark ink. Stamp it randomly around the distressed card stock.
4. Heat the entire card stock until the embossing powder melts.
Repeat this technique with the 3 pieces of white card stock.
5. Adhere the embossed card stock on to the plain white card stock leaving about 1/8" border all the way around each piece. The smallest embossed piece should be adhered to a piece of pale pink card stock. Layer the layers according to size with the smallest on top.
6. With the smallest piece of card stock, stamp a greeting from the Trust God stamp set in the center with Regal Rose ink. Use Marina Mist ink to distress with the blue around the outer edge of the card stock. Adhere it to the other piece of pale pink card stock with a border around the greeting piece.
7. Using the Paper Piercing tool or a very sharp needle(not recommended but it will work) punch holes all the way around the white card stock with the saying. Adhere this to the bottom right side of the card, overlapping the other layers.
8. Wrap ribbon around the right side of the card and tie in a bow. Sometimes I use glue dots to keep my bow in place.
9. Place glue dots on the back of a large pink button and adhere to the top left rectangle as shown in the picture.
10. Adhere the card front on to the card base, leaving a white border all the way around the card.


