Monday, January 5, 2015

Victorian Lady

Well, I've finished all of my January birthday cards now. Here is the last one.
Materials needed:
Victorian lady stamp set from Hot Off the Press
Warmest Regards stamp set from SU!
First Edition patterned paper from SU! 4 1/4 x 5 1/2"
White card stock
Pastel chalks/mine are from SU! but they are now retired
Hair Spray
Certainly Celery ribbon from SU!
Large oval punch SU!
Old Olive card stock 2 3/4 x 2 3/4"
Doily from SU! or Wilton's
Mementos Black ink
Stampin' Dimenionals

This is easy to make just following the design you see on the card.
I think chalk is my favorite medium, even though I don't use it that often. There is so much you can do with it and it's so versatile! When I finish chalking my image, I spary it lightly with hair spray. This is not acid free so if you are doing something that you want to last for generations, find an acid free fixative at your local store. For cards, IMO, hair spray works just fine.

Have fun and I hope everyone who receives one of your cards appreciates the time you put into it!
Have a blessed 2015!
 

Friday, January 2, 2015

Music Card

I've been thinking about this for several months now but just haven't had time to do much about it. So often on Sunday morning, when I listen to  a special song during church, I've thought how that song blessed me, or lifted my spirits or was just good, I've thought about sending the singer a note to encourage them and let them know how I appreciate their work. Then, when I get home, there is always so much to do that I just don't have time to make a card to send to them. I decided that I would make a bunch of cards just to have on hand for this idea. That way when I want to send a special note, all I have to do is spend a couple minutes writing out a message and then getting the card ready to mail. Here is what I did on New Year's Day.
Nothing quite like making a bunch of the same card, assembly line style.

***Quick tip: I went through my scrap box and picked out all the card stock that was big enough to cut into a 4 1/4 x 5 1/2" size. I cut them (about 30) to that size because that is the size I use most often for my cards. Now I've got the card stock ready when I want to make another card.


Materials needed:
Patterned paper with music notes/design by Paper Studio 4 X 5 1/4" each
Card stock 4 1/4 x 5 1/2"
White card stock
Music notes stamp by Stampendous
Greeting stamp from Warmest Regards set SU!
Ink pads to match the card stock
Corner Rounder punch

I found 3 different designs of music related paper at Hobby Lobby and cut each into 6 pieces 4 x 5 1/4." That left me with bits of paper 1 1/2" wide.

1. Adhere the patterned paper to the card stock.
2. Stamp the music notes and a greeting on white card stock. Use ink to match the card stock.
3. Cut the music notes to be 1 3/4 x 3 3/4." Cut the greeting piece to be 1 x 2 1/2." Cut the extra patterned paper to 1 1 1/2 x 3 1/3."
4. Adhere the greeting to the piece of extra patterned paper.
5. Adhere the music notes at an angle near the top of the patterned paper/card stock piece. Adhere the greeting to the bottom center of the patterned paper.
6. Adhere this to a card base and you are ready to write a special message to someone.

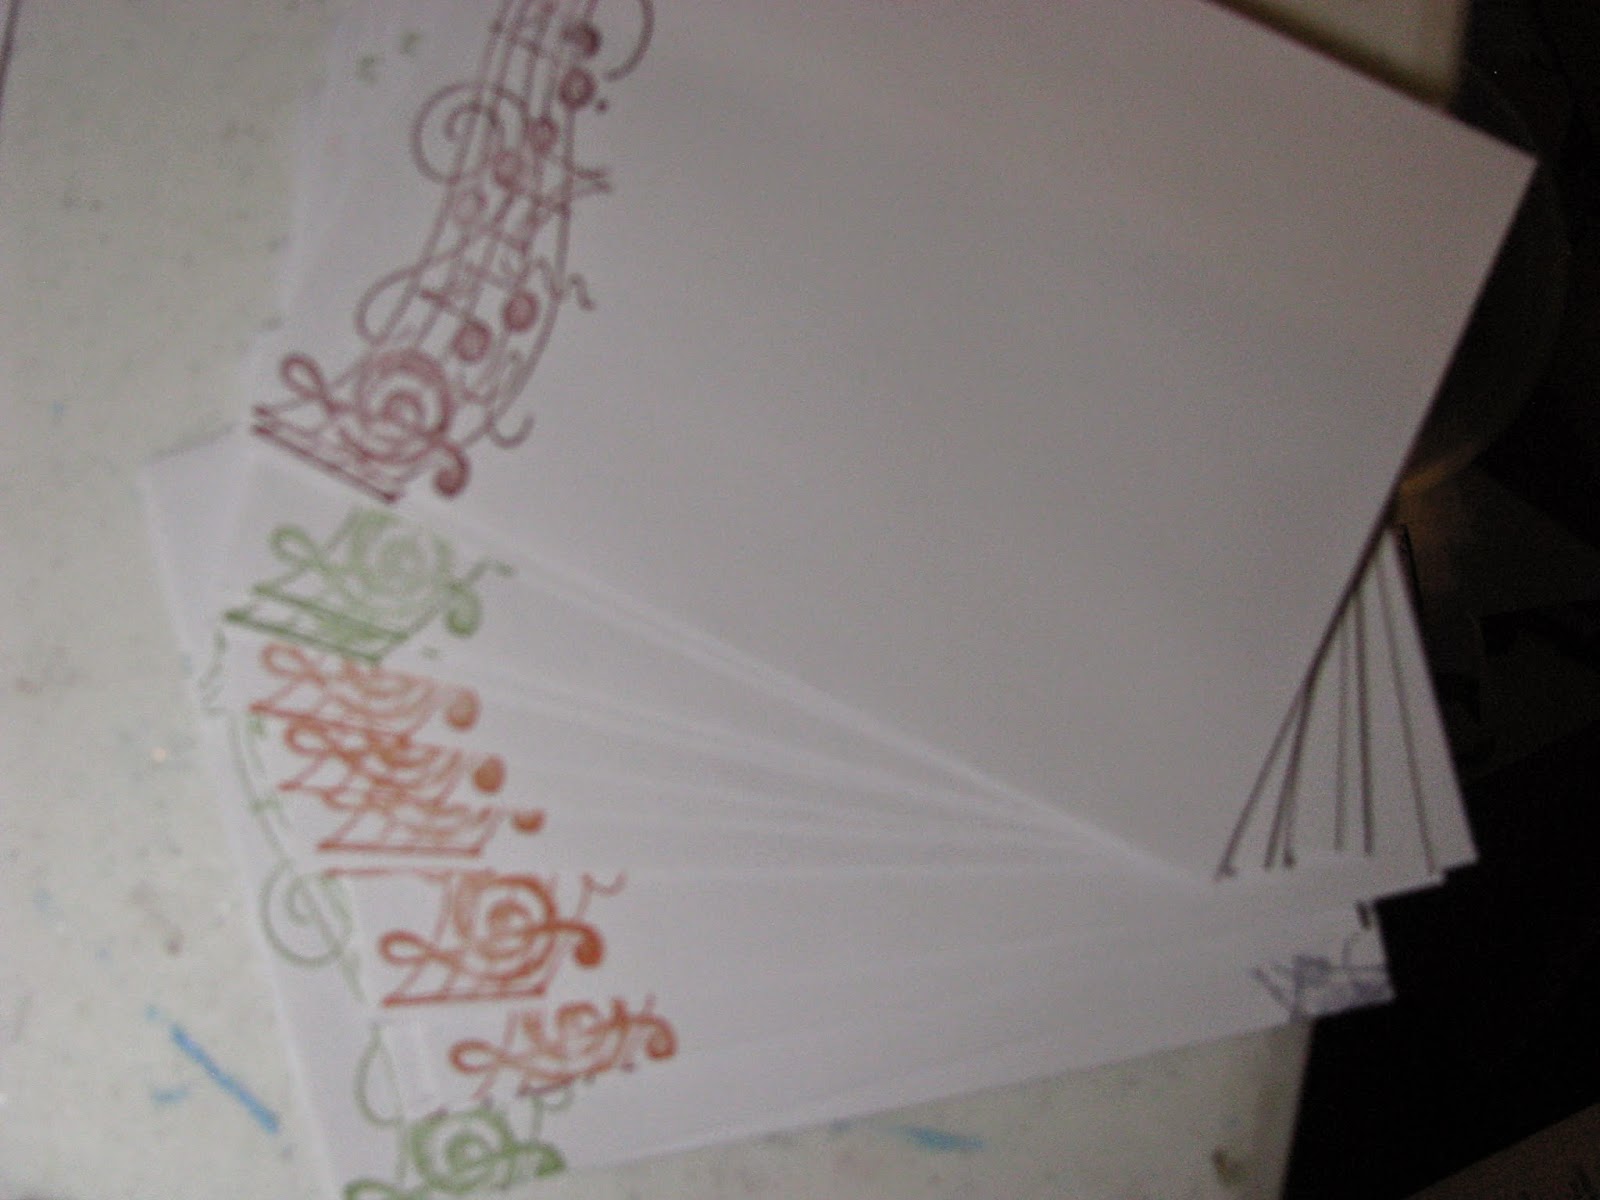
I love to have matching envelopes for my cards. I don't always do this but often. I stamped the music notes on the left side of the front of the envelopes in colors to match the cards.
 

Monday, December 29, 2014

My Best Friend Cards


I absolutely love the Quick Cards made Easy that comes every month from Great Britian! It's a really great card making magazine with lots of great ideas and techniques. And that's not to mention the great gift that comes with every issue! My problem, though, is that so many of their cards are squares instead of the A4 that I'm used to. I usually just adapt their designs to the size that I have always worked with. One reason I like to work with that size is because I can find envelopes for my cards in many places. I have a harder time finding the envelopes for the square shapes so, if I make a square card, that means I have to make my envie also!

Well, in the issue (Jan. 2015, #135) that I just received came the cutest ready stamped designs to use!


However, they are really too big to look good on my typical 4 1/4 x 5 1/2" card. Of course, the mag had them on 15 x 15 cm cards. For all of us who didn't grow up with metric, that's just about 6 x 6" on the card size. The stamp that came with it is a better size for my regular cards but I still want to use these cute designs! So I decided to tackle a square 6 x 6" card. Now you might have a far better way to do it but this is what I did!

Materials needed:
My Best Friend ready-stamped designs
Pastel chalks
Q-tip or chalk applicator
8 1/2 x 11" white card stock
6 x 6" patterned paper, Gingham Gardens from SU!
Island Indigo card stock 4 1/4 x 5 1/2"
Baked Brown Sugar card stock 4 x 5"


1. Most of the pre-colored designs in this pad have girls with white hair. You can certainly use them like that but I decided I wanted some color to the hair. I used a q-tip to put pastel chalk on the sheet for their hair. I found several shades that looked good in my SU! Stampin' Pastels (retired) but I'm sure that any chalks that you have will have some great colors. After I did the color, I did a quick spray over the chalk with a tiny bit of hair spray. The hair spray will prevent the chalk from smearing. It's not acid free but I don't worry about that on my cards. (just on my scrapbooking) Give the hair spray a couple minutes to dry.
2. The designs are 4 x 5 3/4" so I trimmed a bit off, close to the design. I felt that it fit better that way but you don't want to cut off any of the cute design.
3. With my sheet of white card stock, I used my paper trimmer to cut a piece 6 x 6" in size. That left me a piece 5 x 8 1/2" and a piece 2 1/2 x 6". The smaller piece I put aside to use for other items. The 5 x 8 1/2" piece, I scored and folded at 4 1/4".
4. I adhered the Baked Brown Sugar card stock onto the Island Indigo at an angle. And then I adhered the Best Friend design on top of that.
 
5. I adhered this part onto the folded 5 x 4 1/4" card fold white.
 
The Island Indigo is slightly larger than the folded piece but (IMO) that really doesn't matter.
 
6. I adhered a 6 x 6 " piece of patterned paper onto the 6 x 6" piece of white card stock. This gives it more strength and stability. They I adhered the smaller "card" fold onto the 6x6 piece.
 
I am not going to try to make a 6 x 6" card that opens since that would require 12x 12" paper or making tabs and gluing it. I just made the opening to be on the top card part.
 
I hope that this makes sense to you because it is something that I usually don't do but it's always good to try new things! Now, I need to go make an envie to use to mail the card before my January birthdays start up!
If you are interested in Quick Cards Made Easy go to their website here.


Monday, December 8, 2014

Card Map #4

Here is another card map and one look at what I did with it for some December birthdays.


Saturday, December 6, 2014

Mid-Texas area Operation Christmas Child


It's hard to believe that Operation Christmas Child is over for another year. We've finished with National Collection Week and the shoe boxes that we collected are on the truck and on the way to the processing center.

The Mid-Texas area OCC cover 5 1/2 counties across the middle of Texas. We have Robertson, Falls, Milam, Bell, the southern 1/2 of Coyrell, and Lampasas counties. All of these counties are very rural, except for Bell county and Bell still has lots of rural areas. We cover almost 300 miles from east to west. We have 4 relay centers and our collection center. The collection center is located at Immanuel Baptist Church in Temple, TX. The relay centers in Bremond, Rosebud, Killeen, and Copperas Cove feed their shoeboxes in to us. We are very excited that this year our shoebox collection increase by 13.7%. We collected a total of 13,640 shoeboxes! That means that  13,640 children around the world will have the opportunity to hear about Jesus.

As year round volunteers, we are taking December off and then in January, we will start reaching out to the churches and groups that filled shoeboxes by finding ways to tell them thank you. So to everyone who filled a shoebox this year, whether in the Mid-Texas area or somewhere else, we say thank you. You have made a difference in your simple gift!

Monday, November 24, 2014

He Knows My Name

OCC National Collection Week begins today and lasts until next Monday, Nov. 24.
Let's take a look at some children who have received shoeboxes through this ministry.


He knows my name and your name.


Friday, November 14, 2014

Operation Christmas Child

National Collection Week begins on Monday morning, Nov. 17. Be sure to pack your shoeboxes with school supplies, hygiene items, small toys, non-chocolate candies for boys and girls all over the world. Many of these children have never received any kind of gift before. They haven't received gifts from parents and family because in many instances, those who love them have been working hard just to provide food for their survival. Also, this is an opportunity for children to learn about Jesus Christ. With every shoebox goes a booklet in the language of the child telling how to accept Jesus Christ as Lord and Savior and have eternal life.

Let's take a look at how Uncle Si Robertson packs a shoebox.