Friday, August 10, 2012

Fan Fair Birthday card

Twitterpated DSP (#125406) 4 1/4 x 5 1/2" and 3 x 4 1/4"
Twitterpated Designer fabric (#125412) 1 5/8 x 1/2"
needle, thread  Place a straight running stitch near the long edge and gather. Tie.
Scallop Edge Border (#119882) 1 1/2 x 4 1/4" Punch both sides.
glue dots (#103683) or hot glue
Stampin' Dimensionals (#104430), Use dimensionals along edge of scallop border to give it the lift to go over the gathered fabric.
Fabulous Florets stamp set (#123027)
On Your Birthday stamp set (#111664 retired)
Exra large oval punch (#119859)
Island Indigo ink

Wednesday, August 8, 2012

Simple Elegance butterfly

Textured Impressions Embossing Folder Holiday frame (#127820)
Big Shot (#113434)
Beautiful Butterflies Bigz die (#114507)
Twitterpated designer fabric (#125412)
Pearl Basic Jewels (#119247)
glue dots (#103683)
small piece of thin wire for anteannae
You could easily add a greeting or sentiment from Teeny Tiny Wishes or anther set, if you wish.

Monday, August 6, 2012

Circle Circus

Circle Circus stamp set (#115778)
On Your Birthday stamp set (#111664 retired)
Large Oval punch (#119855)
1/2" Circle punch (#119869)
1" Circle punch (#119868)
1 1/4" Circle punch (119861)
2 1/2" Circle punch (#120906)
Whisper White 1/4" grosgrain ribbon (#126877)
Polka Dot Parade DSP (#126902) 1 3/4 x 2 1/2"
Garden Green cardstock
Twitterpated DSP (#125406)
Twitterpated designer fabric (#125412)
Melon Mambo ink
Big Shot
Original Circle Sizzix die

Sunday, August 5, 2012

Testify to Love


One of my favorite artist's, Mandissa, talks about forgiving Simon Cowell for the ugly, cruel things that he said about her weight.

Here's one more item today in support of Chick-fil-a and freedom of speech.

Saturday, August 4, 2012

Summer Afternoon

For a while it seemed like too many people from my generation had forgotten the manners their parents had taught them and didn't know how to send thank you notes anymore. Thankfully, that seems to have changed. For the past couple of years, when I've given wedding, shower, baby, graduation gifts, I've gotten some very nice thank you notes. It seems that the "younger" generation has picked up a skill that many of us had forgotten. Thank you.

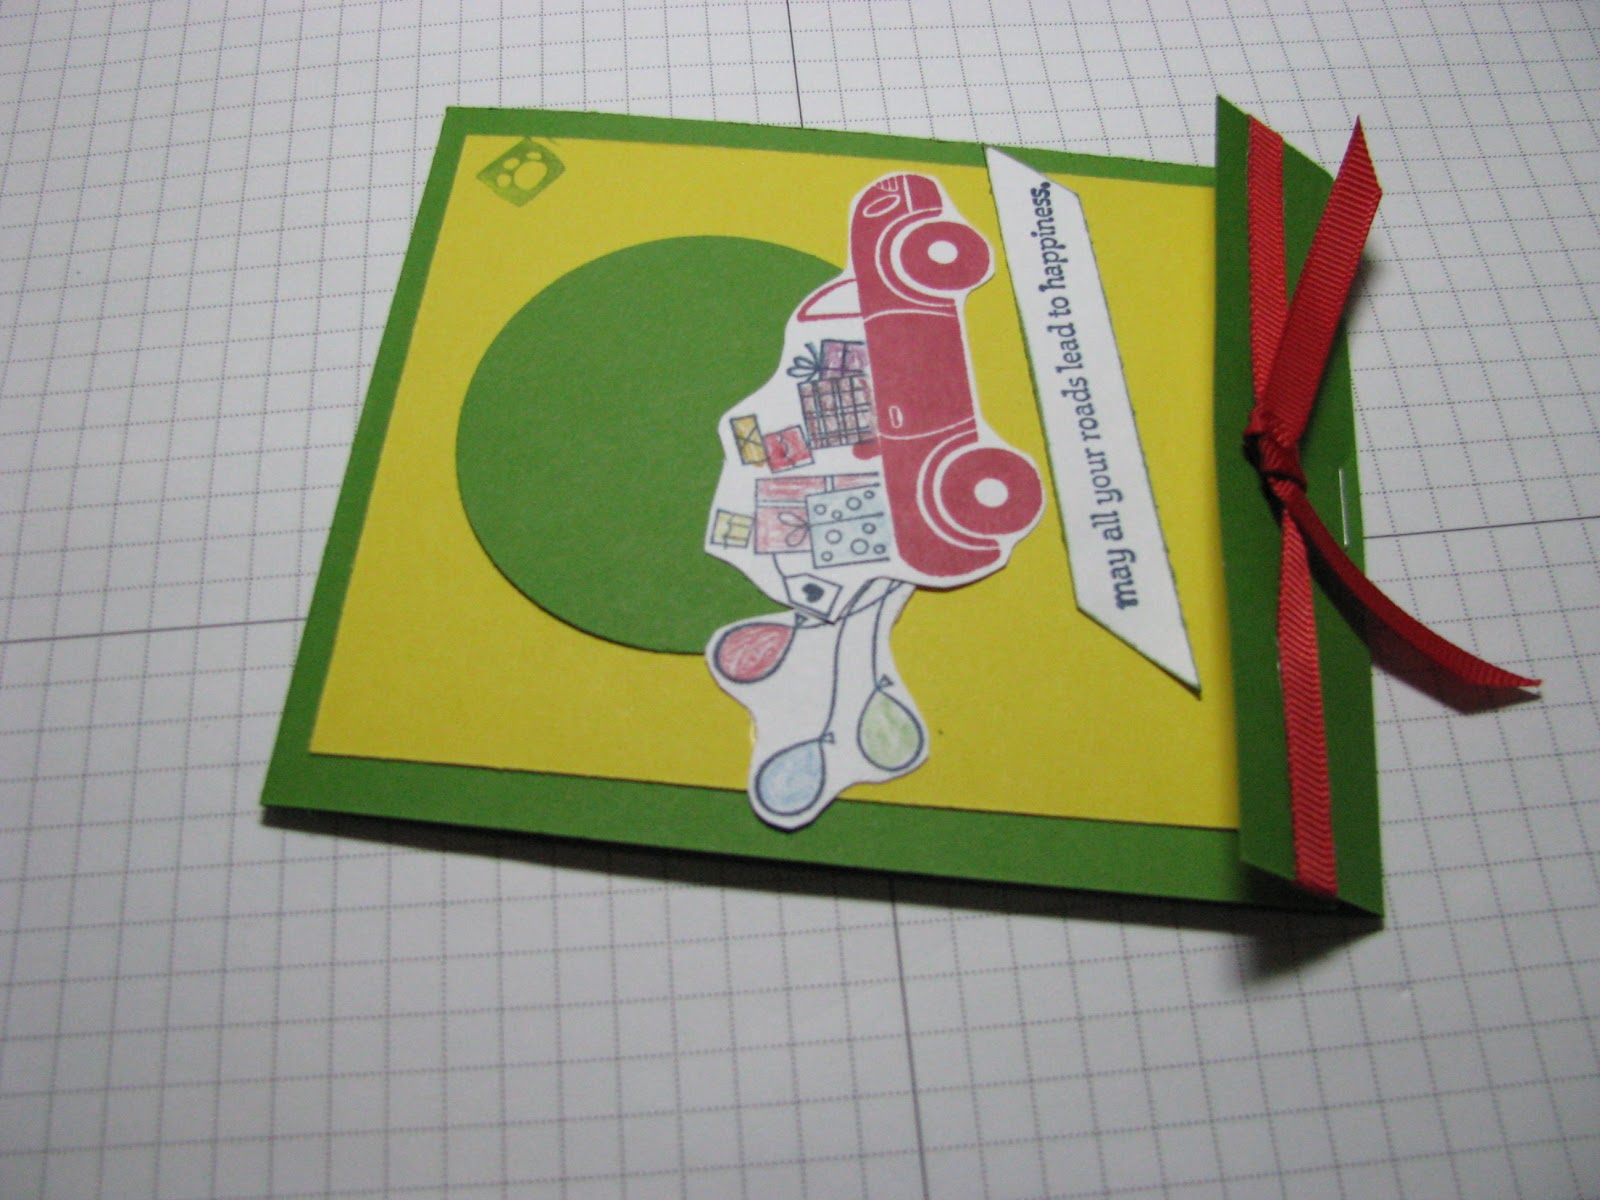
Here's a thank you card for a kind lady who was nice enough to bring dinner for my husband & I while I was sick. If was a nice change from the fast food that we'd been eating!

Hostess Summer Afternoon stamp set (#126427)
Watercolor Pencils (101879)
Summer Smooches DSP (#125409) 4 1/4 x 5 1/2"
International Bazaar DSP (#126920) 3 1/2 x 4 1/2"
Marina Mist cardstock 2 5/8 x 4 1/4"
Scallop Edge Border punch (#119882)
Word Window punch (#119857)
Modern Label punch (#119849)
1/2" Grosgrain Striped Old Olive ribbon (#113883)  5 1/2"
Brads Brights Collection (#119740) Old Olive brads

I don't always do much more than stamp a greeting on the inside but I did just a simple bit to this one.


Trust God stamp set (#126702) with pieces of Marina Mist cardstock left from when I punched the scallops. I've still got plenty of room to write a personal message.

Friday, August 3, 2012

Matchbook Card

It wasn't too many years ago when making "matchbooks" as mini album on scrapbook pages was popular. While we might still do that from time to time now to include some extra photos, the trend has gone the way that trends do. Why don't we take a twist on that past trend  and turn one into a cool card for birthday, off to college, vacations, etc. Here is the card I made for my grandson who will be turning 19 this week AND having a major milestone of heading to college. Watch out Waco, Jonathan is headed for Baylor!


Cut colored cardstock (I used Wild Wasabi) to 4 1/4 x 11."
Score and fold at 1" and 6 1/8" using your Simply Scored Scoring Tool (#122334).
Cut a piece of Daffodil Delight cardstock to measure 3 3/4 x 4 1/4" and another to be 3/4 x 4."
Use the 2 1/2" Circle punch (#120906) to cut the background circle.
Stamp the car, balloons, gifts, & saying on Whisper White cardstock with the Road to Happiness stampe set (#126547). Loosely cut around the images and color with Watercolor Wonder Crayons. (#119804).
Add a knotted ribbon from 1/4" Real Red grosgrain ribbon (#126875) to the fold up bottom of the matchbook. Add the Daffodil Delight cardstock strip to the back to cover the ribbon ends.
Add you greeting on the inside and as always, add money!

Wednesday, August 1, 2012

Stamping Your Own Background Paper

I got the results of my tests back from the dr yesterday. They feel that there is about a 90% chance that I have now developed an allergy to a pencillin antibotic that I was given during my hand surgery on July 13. That will mean that in the future I will have to always tell drs that I had a bad reaction to pencillin. I certainly don't want to ever have a reaction like I did this past couple of weeks. I am doing much better now. I am not 100% but most of my problems now are a result of the predinsone that the dr has me on. He said that we could shorten the time that I was on it but he is concerned that the allergy will pop it's ugly head up again "with a vengance." In the meantime, I can deal with the sleeplessness and other side effects. At least, I'm getting some card making done when every one else in the house is asleep! (lol)


Have you ever stamped your own background paper? Well, Betsy Feldman has! Here's what she's done with it and where I got my idea.

Here's the card I made after reading her blog.
My idea was to make a circle template using circle punches.
1/2" circle (#119869)
3/4" circle (#119873)
1" circle (#119868)
1 1/4" circle (119861)
1 3/8" circle (119860)

To do this, I had to fold the paper in a few spots so I could get the punch in the middle of the paper. That didn't hurt anything since this is just a template for stamping.

I choose 3 of my favorite color of SU! classic and In Color blues, Pacific Point, Island Indigo, and Marina Mist. I first thought that I would just use the Fabulous Florets stamp set(#123027) but after I started stamping, I decided to add Field Flowers stamp set(#122762).
I placed the template over a piece of white cardstock the stame size as the template (8 1/2 x 11").  I secured it in place with paper clips.

Stamp the flowers inside the cut out circles. This is one time that you might want to rock & roll with your stamp to get more of the image inside the circle.

Remove the template and you have your stamped paper. At this point you may decide to add some more images of the same or different colors. I added some leaves and stems to it.
If you wish you may cut your paper to card size or use as is for some other project.

To my card I added a saying from Field Flowers and cut it with my circle punch. I inked the edges with Pacific Point ink and a sponge dauber.
I then stamped happy birthday from Teeny Tiny Wishes (115370). I punched it out with the Word Window punch(#119857) and mounted it on a left over piece of coordinating Summer Smooches paper (#125409). I added brads from the Brad Brights Collection (#119740) and Summer Smooches fabric brads (#125589).

This will give you a look to your cards and scrapbook pages that no one else has because you created it yourself!