Friday, April 24, 2015

Tool ..Pouch for Shoeboxes

Ok, so today, I'm continuing my shoebox posts. It's always difficult to find things for boys in the 10-14 year group. Plus, we always want to keep expenses down. So here is an expensive tool pouch to make and fill for the boys. The tool pouch and everything in it that you see here cost me $4.34. That fills about 1/2 of the shoebox so there is still room for soap, washcloth, crayons, pencils, toothbrush, candy and a few other small items.

Here's how to do it. The tool pouch was made from overalls that I bought at a garage sale for $1.
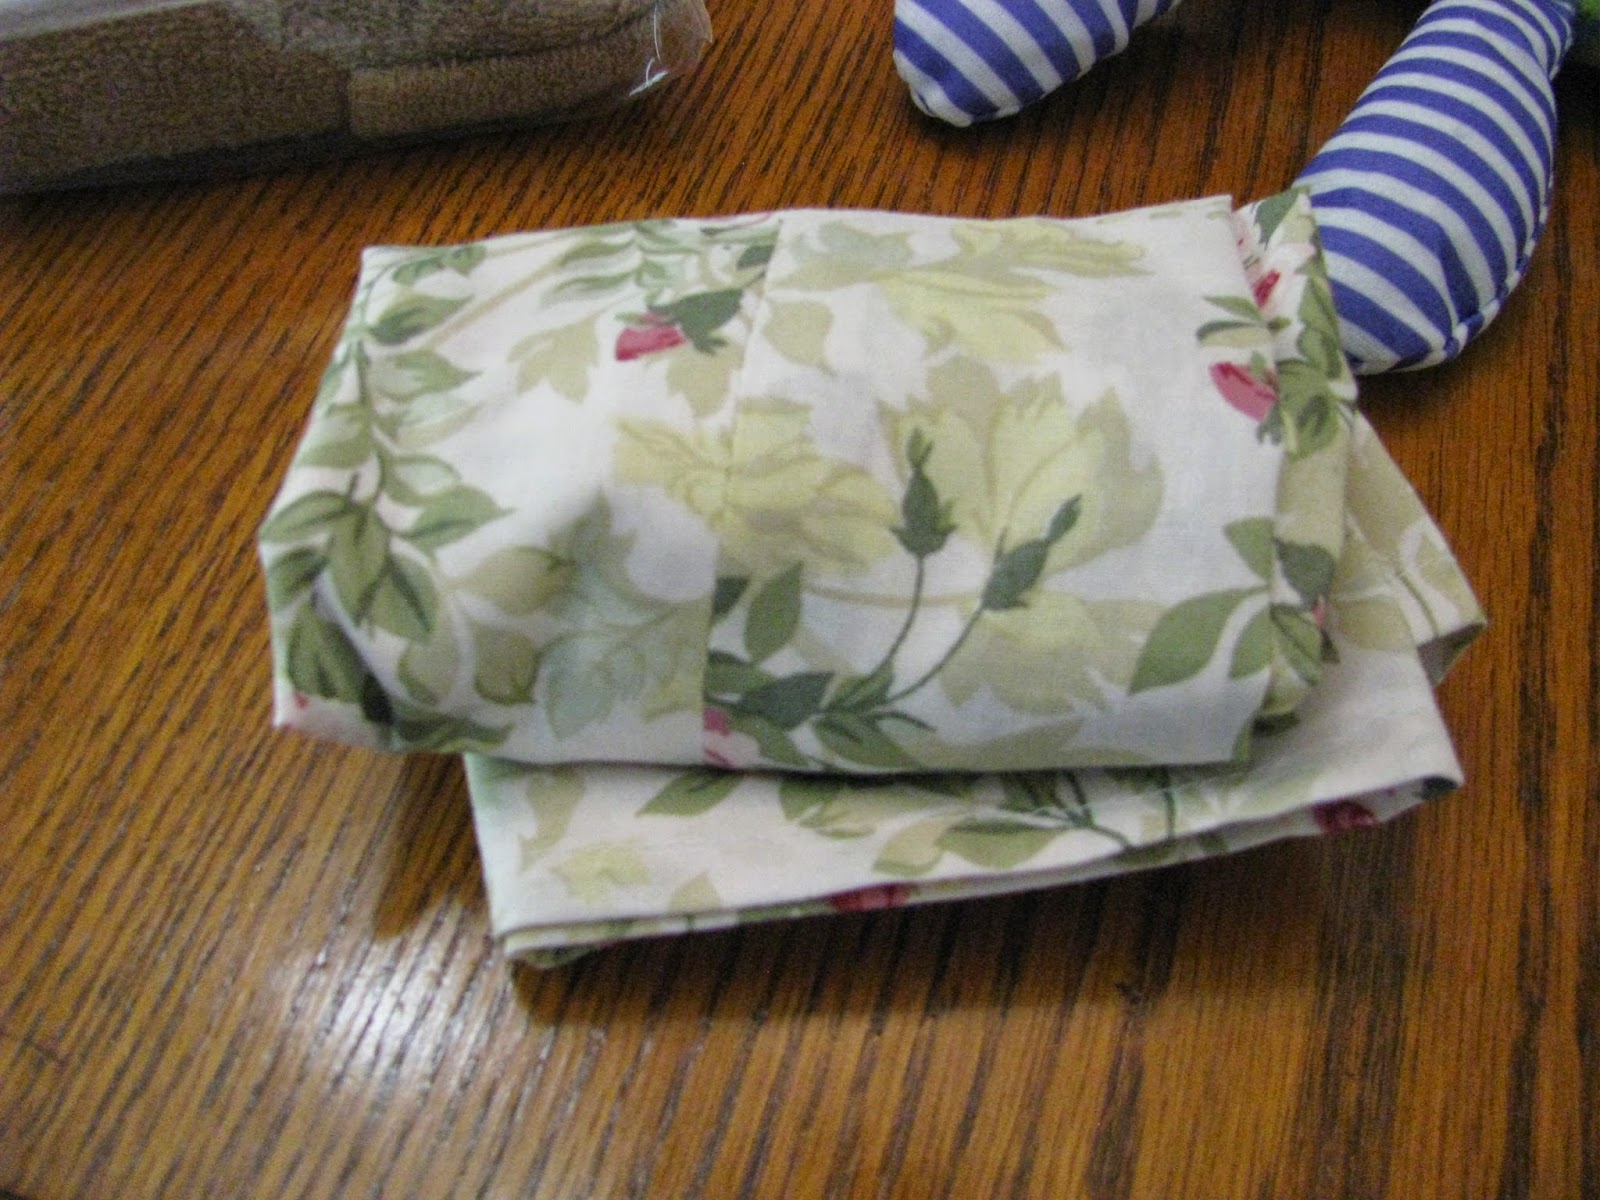
I've already made 3 pouches from it and can get at least 2-3 more. Cut a leg to the length you want for the tool pouch. Two seams are already sewed so all I had to do was put a seam at the bottom and a casing at the top. I ran a heavy cord through the casting so the boy can pull it open and closed.
I bought the cord at Wal-Mart in the automotive section. I've used it for lots of pouches and tote bags.
The pouch cost me less that a quarter.

Now the tools. If you have a Harbor Freight in your area be sure to get on their list for coupons or watch you local newspaper for their adds. Last fall they had many of these items as "free, no purchase required." The limit is one per day. This year so far, they have been "free, with any purchase." At first, I wasn't getting any thing but then I got to thinking about it. The free items in this pouch are the tape measure, flashlight and screw driver set. They have never had hammers as free items so last year I bought 10 small hammers there for $2.99 each. What I decided to do was to buy one hammer at a time and get a free item. They also have 20% off coupons which I use with the purchase so I end up getting the hammer for $2.59, including Texas tax. So I get a hammer and a free item every time I go by the store. (Yes, they know me by name lol) I'm getting more hammers than I am other things but I figure that if I end up with not having full tool pouches, at least the boys can have a hammer.

The small crescent wrench is from Dollar Tree for $1. The bungee cords are also from Dollar Tree. They come 6 in a package for $1 so I put 3 in each pouch so I'm only paying $.50 for each kit.
flashlight--free
screw drivers -- free
25' tape measure--free
hammer--$2.99-20% plus Texas tax=$2.59
crescent wrench--$1
3 bungee cords--$.50
pouch--about $.25
Total cost for tool kit= $4.34
Not bad and you can still back the rest of the box for under $10.

Wednesday, April 22, 2015

How to Pack a Shoebox (Really)

I've seen lots of posts on how to pack a shoebox for Operation Christmas Child but they usually don't give any really good tips on how to actually pack it. Well, I'm going to try to give you some real tips and hints on how to pack a shoebox. What do you put in a shoebox, how do you get all of that in to it and so on.

If you've ever volunteered at a Processing Center, you learned very quickly NOT to take everything out as you inspect it. The very first box I inspected at the DFW Processing Center in 2013, I learned my lesson the hard way! I wanted to do a good job and so I took everything out so I could make sure there was nothing liquid in it, no war toys or food or anything else not allowed. And then....I couldn't get it all back in the box! I looked to my friend beside me for help. Her response was "you're on your own on this one!" Well, I did get it all back in but it wasn't easy.

There are really some good thoughts on how to get the most into your shoebox.


When I first started packing at our church packing parties, the lady in charge had some very specific ideas about what goes into a shoebox and I've pretty well stuck with the basics that I was taught.
The first thing that should always go into a shoebox is prayer. Pray that the things you put in the box will be the things that God knows that this child needs. No, I don't know which child will get the shoebox that I pack or even which country it will go to but God does and God knows what they need and what they want.

We always put in school supplies,
 soap & washcloth, toothpaste & toothbrush
 and then we go from there. I like to use the clear, plastic boxes that cost 96 cents at Wal-Mart. You can get them at many other stores too. There is nothing wrong with using a regular shoe box. I just like the plastic ones. IMO, that gives the kids one extra gift that they can keep for there treasures. I buy a large man's handkerchief and place that in the bottom and up the sides like you see in this picture. That way I don't have to worry about wrapping. (I don't like to wrap!)


The next thing I put in my box is a color book or composition notebook. These are larger items but they will also bend and/or lay flat. It's easy to slip a few pencils & erasers under the edge that curves in the box. I then put in other flat items. 

 Here I put a box of crayons on one side and my soap and wash cloth on the other. Always wrap your soap in the wash cloth and then place them both in a plastic zip type bag. Double bag these. The reason is that is you don't, after the shoebox has been closed up for several weeks, everything inside will smell like soap. The candy will even taste like soap. It's a good idea to put your candy in a zip lock bag also to help keep out bad smells. Directions for the felt dolls in the middle of this portion of the box can be found here.

Then I start placing items in that will lay easily. Place the toothpaste to one side. If you want to save some room. you can take the toothpaste out of the cardboard carton and put it in a zip lock back.
Any other flat items, like tote bags, head bands, etc can go in between the soap and crayons.
 Now, it's time to start looking for empty spaces. You can usually put glue sticks in a hollow spot and fit games in. Small items, like rings, plastic mazes, whistles, can go in most any where. Take advantage of all the space you have. I always like to put a cuddly toy, like a doll or stuffed animal in my boxes. This helps to meet the emotional needs that many of these children have. I look at the animal to see what the biggest part is. I will stuff a large nose or bottom in an empty spot. I do most anything to get my things to fit. Also, bagged candy will need to find a hollow space to fit in. 
When I have everything in my box, I fold the handkerchief sides over and place my envelope with the shipping cost on top. Having this on top makes it so much easier for the volunteers at the Processing Center to get this money to the right place.

I counted my items and I have 16 items in this box. Always put more than just one or two things and always put at least one wow item in the shoe box. God will guide your hands if you ask Him to help you pack your shoeboxes. 

Also, while you can't see it here, I also put a skirt in the shoebox, like the ones I made on Monday's post. I fold the skirt 2 or 3 times and then roll it up tightly. I do this with t-shirts and scarves also.

I added up the cost of the items in this shoebox. Because I watch for after holiday sales and make many items myself, the 16 items in this shoebox cost me just over $6.

Monday, April 20, 2015

Skirts for Shoeboxes

Ok, I can see that my blog is slowly shifting to more Operation Christmas Child stuff and less handmade cards. I still love card making and I'm still doing it. After this long, my friends kind of expect it of me so I'll still post handmade cards here as I make them but I can't tell you how often that will be! Like many people, my life has shifted, like my blog. Most of our lives have shifts as we grow and become interested in other new and different things.

For the past couple of years, I've become more and more engrossed with Operation Christmas Child. I've been told by more than one person (including my hubby) that I'm OCD about OCC! I've met others who are also. We are a fun bunch always looking for a good sale or something we can make cheap to put in our shoeboxes. So today, I have something fairly easy and cheap to go in your girl shoeboxes. In a few days, I'll share something for boy boxes.

I am NOT a seamstress! I took 1 semester of homemaking in 8th grade and that's all! But I can make a very simple skirt that goes perfect in a shoebox. I found a size chart for skirts on the internet that I will post at the end of this tutorial. This is going to be a detailed tutorial so if you are already a good seamstress or someone who sews often, then you will probably want to just skip down to the chart. Since I've had several people who've told me that they could not do this, I decided to make it detailed. Believe me, if I can sew it, then it's not really hard to make!


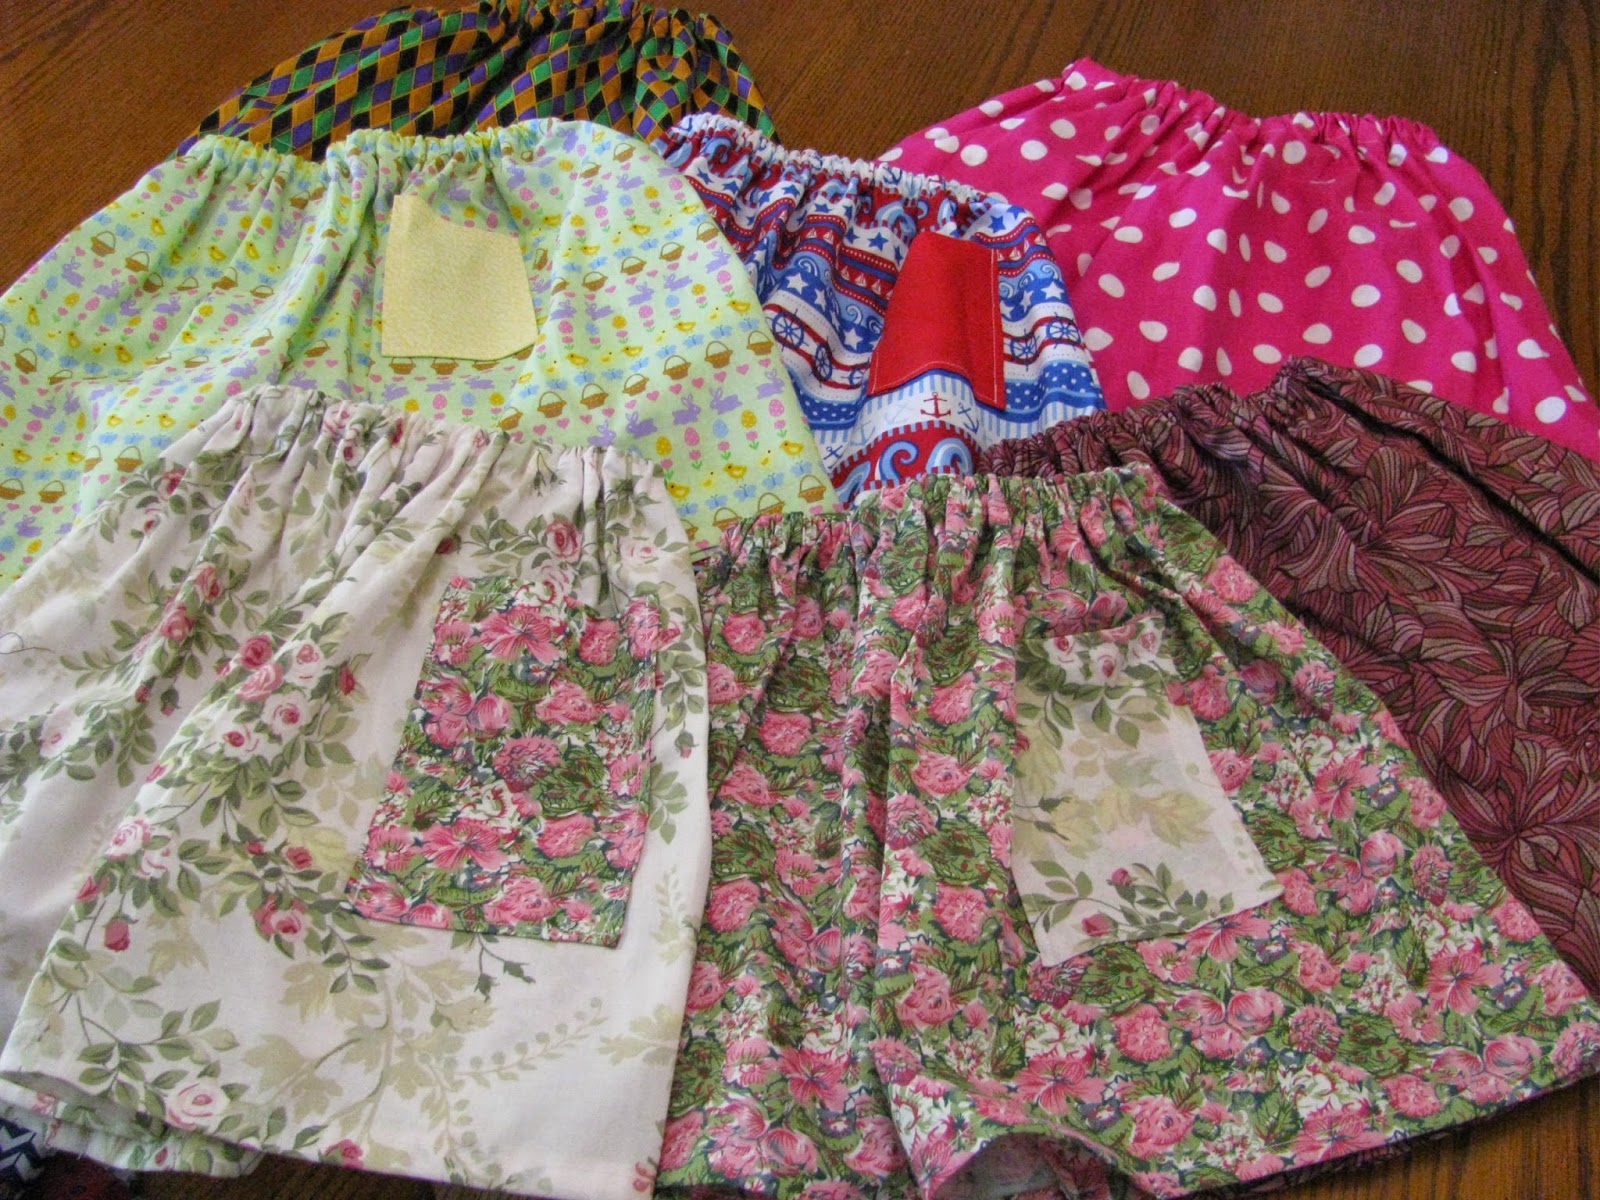
These skirts range in size from a 2T to an 8. These are just a few of the ones that I've made.

You need fabric that is 2 times the waist size and about 2-2.5 inches long than the length to the knee.
You need elastic, thread, scissors, a tape measure and a sewing machine. An iron and/or pins could be helpful also. Most of the fabric that I buy is from the remnant bins or the "spot the bolt" sales. If the fabric costs very much, I don't buy it. I mean this is not for the prom!

I don't pin very much of my fabric. I usually iron down my seams and then sew. This is not the professional way  to do it but, like I said, I'm not a seamstress.

1.

I fold the bottom edge over about 1/4" and iron it down. Then I fold again about another 1/4" and iron down. It can be a little more if you wish, just try to keep it even. Then take it to the sewing machine and sew a straight stitch to hold the hem in place.

2. Next, sew the ends of the fabric together to make one seam.
Press the seam.
3. Now you will need to make the casing for the waist. Again, I fold the fabric over about 1/4" and iron down. Next, I fold it over again about 1" and iron it down. This is one of the few places I use a pin. 
4. Take it to the sewing machine and sew along the bottom edge of the fold. You will want to put the elastic in to the casing in a bit. Start about 1-2" from the seam and sew all the way around the casing until you get back to the seam. You will be leaving an opening here. You can see my finger in the opening.
5. I like to add a pocket when I have the extra fabric. Sometimes I will add a pocket from the same fabric as the skirt but it is usually cuter if the fabric is a coordinating color. Solids work well although small prints work also. A piece of fabric that is about 4 x 6" is needed.

The pocket can be added before or after the elastic. I think it is easier to add it before the elastic.


Iron about 1/4 - 1/2" all the way around the pocket fabric. Pin the pocket in place. Then sew a straight stitch on 3 sides of the fabric. Leave the fabric at the top open.

6. Now we can put the elastic in the casing. Now you will measure the elastic. I take the waist measurement and take off about 2" for the length of the elastic. Push a safety pin into one end of the elastic and close the pin.
Slide the pin into the opening on the casing. Continue pushing the pin and elastic through the casing. Pin the other end of the elastic to the fabric near the casing so that it won't slide all the way into the casing. 

6. When the elastic is all the way around in the casing, pull it out and remove the pin. Line the two ends of elastic together and take to the sewing machine. Sew across the elastic 3-4 times. Then cut off the extra elastic, leaving a bit beyond the seam.
Next, sew the opening on the casing closed.


I got the chart off of a pinterest post but I don't know which one. Sorry about that.

Size                       waist size                          skirt length to knee
6-12 mos                    16 in                                        7 in
12-18 mos                   16.5                                        8
18-24 mos                   17                                           9
2 T                             18                                          10
3 T                             19                                          11
4 T                             20                                          12
5 T                             21                                          13
6                                22                                          14
7                                22.5                                        15.5
8                                23                                           16.5
10                              24                                           17.5
12                              25                                           18.5
14                              26                                            19.5


Wednesday, April 8, 2015

Chevron Birthday

Here is the card that I made for the men in my life with April birthdays. Aside from a bit of embossing with my Big Shot, there is nothing fancy about this card. Lately, I've been too busy volunteering to have time to do anything fancy! But I do love my volunteering for Operation Christmas Child!

Materials needed:
Wild Wasabi card stock 4 1/4 x 5 1/2"
Patterned paper from my scrap box 2 1/2 x 5 1/2"
Old Olive ink
Serene Silhouettes stamp set
Teeny Tiny Wishes stamp set
Certainly Celery grosgrain 5/8" ribbon (from SU! but retired)
Word Window punch
Chevron embossing folder
Stampin' Dimensionals

This is  a super easy card but if you want me to put step by step directions, let me know and I'll be happy to do that.

Monday, April 6, 2015

Felt Flowers and Butterflies

It's April already and I'm running behind, as usual. lol I spent my afternoon a few days ago getting my April birthday cards made. I had made a few last week for the first few days of the month but didn't get them scanned for you. So now, that I've got my cards for the rest of the month done, I'll share them with you.

Today, I'm sharing the one that I did for the ladies I know with April birthdays. It's spring time now and we've had some beautiful days here in Central Texas. We've had some cool ones too but nothing too bad. I wanted to do springy so here is the card.


Materials needed:
Pool Party card stock 4 1/4 x 5 1/2
Shades of Spring patterned paper 2 1/2 x 3"
Butterfly stamp (this is one I've had from years. I'm pretty sure it's from SU! but I don't know which set)
Felt
Secret Garden Framelits dies
Jewels Basic Pearls
White satin ribbon 5/8"
Strawberry Slush ink
Teeny Tiny Wishes stamp set
Word Window punch
Pretty Birds embossing folder by Jennifer Ellory
Stampin' Dimensionals
Glue dots

It's pretty easy to just look at the card and see how it's made. The only thing you might not be sure of it the felt flower. I took of piece of felt and cut it with one of the Secret Garden flower dies. The original dies will cut up to 4 pieces of felt with no problem but the Framlits dies will only cut 2 at a time and sometimes only one does good.  After you cut out the felt flower, place a glue dot in the center of the flower. Pinch the felt around the glue dot and it will look a bit more like petals. Then you can put the felt on the flower with glue dots. The rest of the card is pretty much like it looks. Easy peasy! Have fun.

Saturday, April 4, 2015

Melting Old Crayons

How often have we seen all those broken crayons laying around the house or classroom? We may have even seen people melt the crayons to make "crayon cakes or muffins." Well, this is the same but different. I took one of my Christmas cookie pans to use to melt broken crayons and ended up with shaped crayons that look cute enough to eat. In fact, I made labels that said, "crayons, do not eat" so there wouldn't be a problem. Even if someone eats them, crayons are non-toxic and I don't think they will take more than one disgusting bite.


Ok, this is easy to do. First, you have to remove all the paper wrappers from the crayons. If you let them soak in warm or hot water for about 20 minutes, it is easier to peel the wrappers off. Some will even come out of the wrappers on their own. Depending on the size of the crayons, break them into pieces 1 inch or smaller and fill the shape in your pan. In fact, it doesn't hurt to overfill it as when the crayons melt they spread out as liquids do. You can mix the colors together or do all of one color or shade for a certain shape. I've done both. Preheat the oven to 235 degrees. Place the pan in the oven and leave for 20 minutes. Check to make sure they are melted and then set on top of the stove for a few minutes. Some crayons do not melt well, like pastel crayons, so do not use them. Place the pan in the freezer for 20 minutes. Next, take them out and they will just fall out when you flip the pan. 

These are cute to add to your shoeboxes. For packing, I place a 1/4 sheet of card stock in a zip lock style  bag. Then I put 4 different shaped crayons in each bag. I put my label on the outside of the bag.

It's not necessary to put a label on but my husband convinced me to be a little concerned that the children may not know what they are. My label says in 3 languages, "crayons, do not eat." The most common languages are Chinese and Arabic but I don't know how to do those characters so I choose the next 3 most common languages, English, Spanish and French. I think these will cover a lot. If you choose to do this, here it is in
Spanish--"Lapices, No comer"
French--"Le crayons, Ne pas manger"

It's been fun doing this. I got a bunch of old crayons from the day care center at my church. Another good place to get crayons would be at your child's school at the end of the school year. Many teachers throw them away at the end of the year so in mid-May let the teachers know that you want them. Kindergarten classes will be your best place to try as many kindergarten classes pool the crayons or have supply fees that are used to purchase them. I've filled 50 zip locks with these shaped crayons. Any that I don't use for my shoe boxes, I'll give to my collection center or church for their shoebox packing party. 

*****WARNING: If you use a cookie or shaped pan like I did, be prepared for LOTS of scraping on it when you are finished. Also, DO NOT wash it in your dishwasher! Crayon will melt and stay on your dishwasher walls. I've already scrubbed the dishwasher & plan to buy a dishwasher cleaner to hope that will do the job. Also, don't wash any other dishes at the same time as the pans you melted crayon in. Crayon residue will get all over those dishes and you will have to hand wash them. I've scrapped crayon off my pans with a plastic scrapper and done lots of scrubbing. I put the pan back in the oven to try to melt the crayon off and it still needs work. My next effort will be to put them in the freezer to see if the crayon will come off any easier.

In short, it's best to use an old pan that you don't plan on using for food again! Take my word for it, I learned the hard way! lol