Friday, May 30, 2014

Doily, Flowers & Ribbon

Materials needed:
Raining Flowers stamp set (#122767)
Melon Mambo card stock 4 1/4 x 5 1/2"
Cottage Wall patterned paper 4 x 5 1/4"
White card stock
1/2" Polka Dot Grosgrain melon Mambo ribbon (#115611)
Brad
Doilies from Stampin' Up or Wilton
Stampin' Dimensionals (#104430)
Primrose Petals ink

1. Stamp one large flower image and 4 medium flower images from the Raining Flowers stamp set in Primrose Petals ink on white card stock. Cut out the large flower image.
2. On the medium flower images, cut out the first one completely. The second one cut along the first inside lines of the image and so on until you have 4 layers of petals cut out.


3. Place a Stampin' Dimensional on the back of the largest medium image.Adhere it to the large flower image. Layer the other petals on top of each other, adhering each one down. Place a brad through the top 2 petals.
4. Adhere the patterned paper to the Melon Mambo card stock. Adhere the doily to the top of the patterned paper. Adhere the flower to the center of the doily. (Stampin' Up has some very nice doilies but you can also buy them at any Wilton's Cake Decoration department of your craft store.)
5. Adhere ribbon to the bottom of the card and add a bow. I do not tie good bows so I usually place the ribbon flat on the card. Then I tie a bow separate and adhere it to the ribbon with glue dots.
6. Adhere the card front to a card base and you are ready to go.

Wednesday, May 28, 2014

Congrads Bear

My preferred size for card making is 4 1/4 x 5 1/2" but I've run out of the envelopes that work for that size card so I made a card for the size envie that I have, a 5 x 7" envie.

Materials needed:
Perfect Punches stamp set (#120516)
Soho Subway patterned paper (#130140) 2 1/2 x 4 1/4" and 4 1/2 x 6 1/2"
Baked Brown Sugar card stock 4 3/4 x 6 3/4"
White card stock 7 x 10" scored and folded at 5" on the long side
White card stock 8 1/2 x 11"
Fizzy Moon digi kits from Daisy Trail
Brads Subtles (#119738)
Modern Label punch
1" Bashful Blue Grosgrain Double stitched ribbon (retired)
Baked Brown Sugar ink pad
Stampin' Dimensionals (#104430)

1. Print 3 graduating bears each about 3 1/2" tall on white card stock. Cut out the first one completely around the outside edge. Cut out the paws and one foot and the grad cap on the second bear. On the third bear, cut out the top of the grad cap.
2. Place a Stampin' Dimensional on the back of each of the pieces and mount them on top of the same piece on the whole bear. On the third one, mount the top of the grad cap on to the second one.
3. Adhere the ribbon near the bottom of the patterned paper and wrap around to the back. Adhere the patterned paper to the Baked Brown Sugar card stock.
4.Adhere the grad bear on top of the patterned paper as shown on the card.
5. Stamp and punch out the congratulations from the Perfect Punches stamp set on white card stockwith Baked Brown Sugar ink. Adhere it to the patterned paper on the right hand side just above the ribbon. Punch small holes on each side of the label and add brads.
6. Adhere the card front to the cut and folded white card stock.

Monday, May 26, 2014

Gate Fold Thank You

Materials needed:
Old Olive card stock 4 1/4 x 8 1/2"
Patterned paper 2 x 5", 2 pieces 1 1/2 x 2 1/2"
White card stock
Kraft card stock
Upsy Daisy stamp set (#111710, retired)
Trust God stamp set (#126702)
Teeny Tiny Wishes stamp set
Scalloped Oval punch
Sponge dauber
Regals Candy Dots (#130932)
Raspberry Ripple ink
Stampin' Dimenionals (#104430)

1. Score and fold Old Olive card stock 2 1/8" from each end. When you fold, they should meet in the middle.
2. Stamp the silhouette daisy stamp on white card stock in Raspberry Ripple ink. Cut out around the edges of the flowers.
3. Adhere the 2 x 5" pieces of patterned paper on the outside of the folds of the Old Olive card stock. Adhere the smaller piece of patterned paper on the other patterned paper. Place one near the top and one near the bottom of the edges.
4. Place adhesive on the left side back of the daisy cut out piece. Place it on the left gate fold. Be sure that the daisy sticks out over the right side of the gate fold but is not stuck to the right side.
5. Stamp your greeting on the Kraft card stock. Punch it out with the scallop oval punch. Use a sponge dauber to apply Raspberry Ripple ink to the edges of the oval. Place Stampin' Dimensionals on the back of this. Adhere it to the top right side of the card.
6. For the inside, choose a greeting from Trust God stamp set. Stamp it with Raspberry Ripple ink on white card stock. Punch it out with the Blossom punch and adhere it to the inside of the card. Write your message below it.

Friday, May 23, 2014

A Card from Scraps

Every thing for this card came from my scrap box. Some of the items are quite old. Most of them are from Stampin' Up but I might have to look through several catalogs to find the pattern names. I think that from time to time we all need to make something that just uses scraps. We all have more than we will probably ever use, at least, I know that I do!
Materials needed:
Red card stock 4 1/4 x 5 1/2"
Striped patterned paper 4 x 5 1/4"
Other pieces of patterned paper that coordinate well.
Card stock stickers
Vellum
Gold embossing powder
Greeting stamp
Heat tool
Versa Mark ink pad

1. Cut various piece of patterned paper into these sizes: 3 x 3 1/2" for the back (right on top of the stripes), 3/4 x 3 3 3/4", 2 x 4" with a fish tail cut out on one end. 1 x 3" with a fish tail cut out on one end.
2. Stamp a greeting image on to a piece of vellum paper with Versa Mark ink. Sprinkle with gold embossing powder and heat until the powder has melted.  See Note.***
**** I've found that greeting stamps with small letters do not work well with this. They have a tendency to blend together when they melt and make it hard to read the words.
The greeting on the right says "Happy Birthday Wishes." It is very hard to tell what the words are other than the larger birthday word. The green one is using SU Wild Wasabi embossing powder.****

3. Place the cut out pieces of patterned paper, except the one that  is 1 x 3", on the striped paper as shown in the picture.
4. Cut out the greeting on vellum with a larger area left at the bottom. Carefully place adhesive on the bottom section of the greeting and place it on top of the other papers. Adhere the last "fishtail"  piece of patterned paper on top of the vellum paper covering up where the adhesive shows.
5. The flower, leaves and friend label are card stock stickers. Place the flower on the left side overlapping the edge. Trim the excess off of the edge. Place the stem and leaves as shown in the picture.
6. Adhere the card on to a card base.
I've left this tutorial a little vague because I know if you are using scraps, you may not have the same scraps that I have. All of the papers that I used are retired by now. Make good use of your left overs. You can make some beautiful cards that your friends will love.

Wednesday, May 21, 2014

Embossed Birdcage

I used the Pretty Birds embossing and stamp set by Jennifer Ellory that was the gift in this month's issue of Quick Cards magazine.
Materials needed:
Pretty Birds embossing folder and stamp
Coastal Cabana card stock 4 1/4 x 5 1/2"
White card stock
Coastal Cabana ink
Coastal Cabana marker
Candy Dots-Regals (#130932)
Felt flowers
White brads
Stampin' Dimensionals (#104430)

1. Use the Pretty Birds embossing folder and your Big Shot machine to emboss the swirl image on the Coastal Cabana card stock.
2. Use a piece of white card stock about 2 x 3 1/2" to emboss the bird cage. Place the white card stock in the embossing folder positioned at the bird cage and run it through your machine. Cut the image out around the edge of the embossed cage.
3. Adhere the white bird cage on top of the bird cage on the Coastal Cabana card stock. Use the brush end of the marker to color the bird on top of the cage.
4. Punch 3 holes for the flowers on the Coastal Cabana card stock. Place the felt flowers on and put a white brad through each flower. Bend the brads at the back.
5. Choose the colors of Candy Dots that you like and place on the bird cage.
6. Stamp a "best wishes" image on to white card stock. Cut out around it. Place Stampin' Dimensionals on the back and adhere it to the left side of the card.
7. Adhere this to a card base.

Monday, May 19, 2014

Layers in Purple & Yellow

This is a fun card with lots of layers. I've seen vellum being used again in some of the magazines so I used it here. It's been a while since vellum was popular so I'll give you a brief overview of using vellum before we start on the card.
Vellum is a thin opaque paper that can be a bit tricky to use. Any adhesive you put on the back of vellum is going to show through to the top side.
You can see here the strip of adhesive that I used to hold the vellum in place. The thing that you have to be careful with is the WHERE of putting the vellum. You want to be sure you place the adhesive somewhere on your project that will be covered up with other things, paper, stickers, flowers, etc. That is the only way that I am aware of so that the adhesive doesn't show. Of course, you can skip the adhesive and hold the vellum in place with brads, eyelets, or ribbon. Some times you have to be a bit creative to use the vellum but it can add a delightful dimension to your project.

Materials needed:
Elegant Eggplant card stock 4 1/4 x 5 1/2"
Rich Razzleberry card stock 4 x 5 1/4"
Printed vellum (I've had this for years so I don't know where I orginally got it) 3 3/4 x 5"
Daffodil Delight card stock 2 1/2 x 4," 1 1/4 x 5," 3 x 3 1/2"
Patterned paper 2 1/4 x 3 3/4"
White card stock
Washi tape
Mixed Bunch stamp set (#125537)
Corner rounder punch
Blossom Punch (#125603)
Framelits Labels Collection dies (#125598)
Stampin' Dimenionals (#104430)
Rich Razzleberry ink

1. Adhere the Rich Razzleberry card stock on top of the Elegant Eggplant card stock. Adhere the vellum on top of the Rich Razzleberry. Remember to put the adhesive where it won't show later. For this card putting some right across the middle works fine.
2.Place a 6" strip of washi tape down the middle of the 1 1/4" wide Daffodil Delight card stock. Wrap the ends around to the back. Adhere this to the left side of the card about 1/2" from the left border.


3. Use the corner rounder to round two corners of the 2 1/4 x 4" piece of Daffodil Delight. Round the corners of the patterned paper also to match the Daffodil Delight. Adhere the patterned paper on to the Daffodil Delight card stock.

4. Run the next piece of Daffodil Delight card stock through your Big Shot machine with the Framelits die to cut the piece. Adhere it to the center of the card stock from #3.
5. Use Rich Razzleberry ink to stamp the image from Mixed Bunch set to white card stock. Use the Blossom punch to punch it out. Place Stampin' Dimensionals on the back of the blossom die cut. Place it in the center of the Framelits die.
6. Adhere all of this to a card base.


Friday, May 16, 2014

Double Fold Panels


Materials needed:
Penny Black stamp set
Watercolor pencils
Blender pen
Tangerine Tango ink
Island Indigo card stock 5 1/2 x 11"
patterned paper 2 pieces 1 7/8 x 3 1/2," 1 pc 2 7/8 x 3 1/2," 4 pc 3/4 x 1 3/4"
White card stock
paper trimmer
score board

1. Cut your card stock and patterned paper the sizes named. 
2. Score the card stock all the way down at 2", 4", 7", & 9". Measure 1" from the top and score down to the 1" mark at 1", 5", 6", & 10". Do this on the top. Then flip the card stock around and score it on the other side too.

3. Cut a line from the 1" score to the 5" score and from the 6" score to the 10" score.

4. Fold on the score lines so bend in and out. It's hard to describe so look closely at the picture.

5. Place adhesive on the back of the 1 7/8 x 3 1/2"  patterned paper. Place it on the side panels and the center.

Place adhesive on the back of the 4 small pieces and place them on the top and bottom strips.
6. Stamp the Penny Black images on white card stock. Color them with watercolor pencils or your favorite coloring medium. Cut them out and adhere over the patterned paper. You can stamp a greeting on the solid card stock sections, if you wish. Add small greeting or sayings on the small spaces.

This card can be made in so many colors and patterns. Here is another that I did using Stampin' Up products.
Materials needed:
Daffodil Delight card stock
patterned paper
Secret Gardens stamps and thinlets dies
Bermuda Bay ink
Crushed Curry ink
Primrose Petals ink
a solid green card stock for the stems cut with Secret Gardens dies

These cards will fold up and fit in a regular size envelope. Because of the folds, they will stand on display very easily.


Wednesday, May 14, 2014

Superman Card

My grandson is crazy about anything Superman so I made this card for his birthday. I looked at some Superman emblems on the internet and then I drew this by hand. It is a little difficult to put together because your are working with the negative with the yellow pieces. Placing the yellow pieces leaves the image of the S in red. To copy my paper piecing pattern go here.

Materials needed:
Island Indigo card stock 4 1/4 x 5 1/2"
Real Red card stock at least 3 1/2 x 3 1/2"
Daffodil Delight card stock about 3" square
Daffodil Delight 1/4" Grosgrain Stitched  ribbon
White card stock
"For You" stamp from the May Paper Pumpkin kit
Raspberry Ripple ink

1. Print the pattern for the paper piecing from the link above. Cut out the diamond in red and the smaller pieces in yellow. Piece these together to form the letter "S" in the center of the diamond. Remember that with the yellow piece you are working with the negative image. The "S" is formed in the red when the yellow pieces are in the correct place.

2. Cut 3 pieces of Daffodil Delight ribbon. Cut 2 pieces 4 1/4" long each and one piece 4 3/4" long. Trim the ribbon so that one end has a point like an arrow and the other end has the fishtail like at the end of an arrow. Place adhesive on the back of the ribbon pieces. Adhere the ribbon at an angle on the Island Indigo card stock. Place the longer piece of ribbon in the center between the 2 shorter pieces of ribbon.
3. Stamp a greeting with Raspberry Ripple ink on white card stock. Cut to fit and adhere to the bottom right corner of the card front.
4. Adhere the card front to a card base and add your note or message on the inside.

Happy Birthday Aaron!

Monday, May 12, 2014

Imagine

Materials needed:
Really Good Greetings stamp set (#130333)
Crushed Curry card stock 5 1/2 x 8 1/2"
Afternoon Picnic patterned paper (#131390)  4 x 5 1/2" and 3 x 4 3/4"
Chalk Talk dies (#129983)
Marina Mist ink
1/2" Scallop Dots Ribbon Marina Mist (#122986)
Corner Rounder punch

Friday, May 9, 2014

Washi tape stripes


I used Washi tape that I purchased at a local store to do the background.

Materials needed:
Vintage Blooms by Jennifer Ellory die cut
Afternoon Picnic patterned paper (#131390)
Teeny Tiny Wishes stamp set (#115370)
Washi Tape in 3 colors
Blushing Bride card stock 4 1/4 x 5 1/2"
Coastal Cabana card stock
Candy Dots Brad Bases (#132293)
Candy Dots Brights (#130931)
Word Window punch
Modern Label punch

1. Tear strips of Washi tape and place on the Blushing Bride card stock. Start with the first piece about 1/8" from the top and alternate colors or patterns of tape leaving about 1/8" space between each piece.
2. Cut a piece of Afternoon picnic patterned paper to 2 x 3 1/4." Cut Coastal Cabana to 2 1/4 x 3 1/2." Adhere the patterned paper to the top of the card stock. Adhere this to the top left side.
3. Cut patterned paper to 2 3/4 x 3 1/2." Cut another piece of Blushing Bride card stock to 2 1/4 x 2 3/4." Adhere it in the center of the patterned paper.
4. Choose a die cut from the Vintage Blooms pack and adhere to the top of the blushing Bride card stock.
5. Stamp a greeting on white card stock with Primrose Petals ink. Punch it out with the Word Window punch. Punch out a piece of Coastal Cabana card stock with the Modern Label punch. Adhere the greeting on to the Modern Label punched card stock. Adhere it across the bottom section of the die cut out. Add brads to the sides.
6. Adhere the card front onto a card base and add your message inside.

You get a fun & simple card in minutes that will look like you hours on it.


Wednesday, May 7, 2014

Special Blues & Greens Embossed

This card uses the embossing technique that I used early in April. Instead of the pinks I went with blues and greens for this one. Check out here to see how to do this.

Materials needed:
Elements of Style stamp set (#120045)
Trust God stamp set (#126702)
Bermuda Bay card stock 3 x 3 3/4" and 4 1/4 x 5 1/2"
White card stock 4 x 5 1/4," 2 3/4 x 3," and 2 x 2 1/2"
Crushed Curry ink
Gumball Green ink
Bermuda Bay ink
Versa Mark ink
Crystal Clear embossing powder
Heat tool
Sycamore Street 1/4" ribbon, Island Indigo (#130812)
Very Vintage buttons (#129327)
Corner Rounder punch
Sponge Dauber (#102892)
Glue Dots

1. Emboss the larger 2 white card stock pieces according to the directions found here.On this card I used the Crushed Curry, Gumball Green and Bermuda Bay inks in that order. Stamp the flurish image on to the colored card stock with Versa Mark ink. Follow the directions on the card link listed here.
2. Round all the corners. Adhere the embossed card stock pieces to the Bermuda Bay card stock pieces.
3. Wrap the Island Indigo ribbon around the card front and tie a bow. Use glue dots to hold in place.
4. Stamp the saying that you want on the smallest piece of white card stock in Bermuda Bay ink. Use sponge daubers to sponge the edges around the saying with Bermuda Bay ink.  Adhere this piece to the center of the 2 3/4 x 3" embossed piece.
5. Add a button to the bottom right side of the saying piece.
6. Adhere the card front on to a card base and add a note or greeting on the inside.

Monday, May 5, 2014

A Cupcake for You


When you make this card, you will want to go to the tutorial on the easy triangle pop up that I posted here. That will give you directions on making the center pop up for the card.

Materials needed:
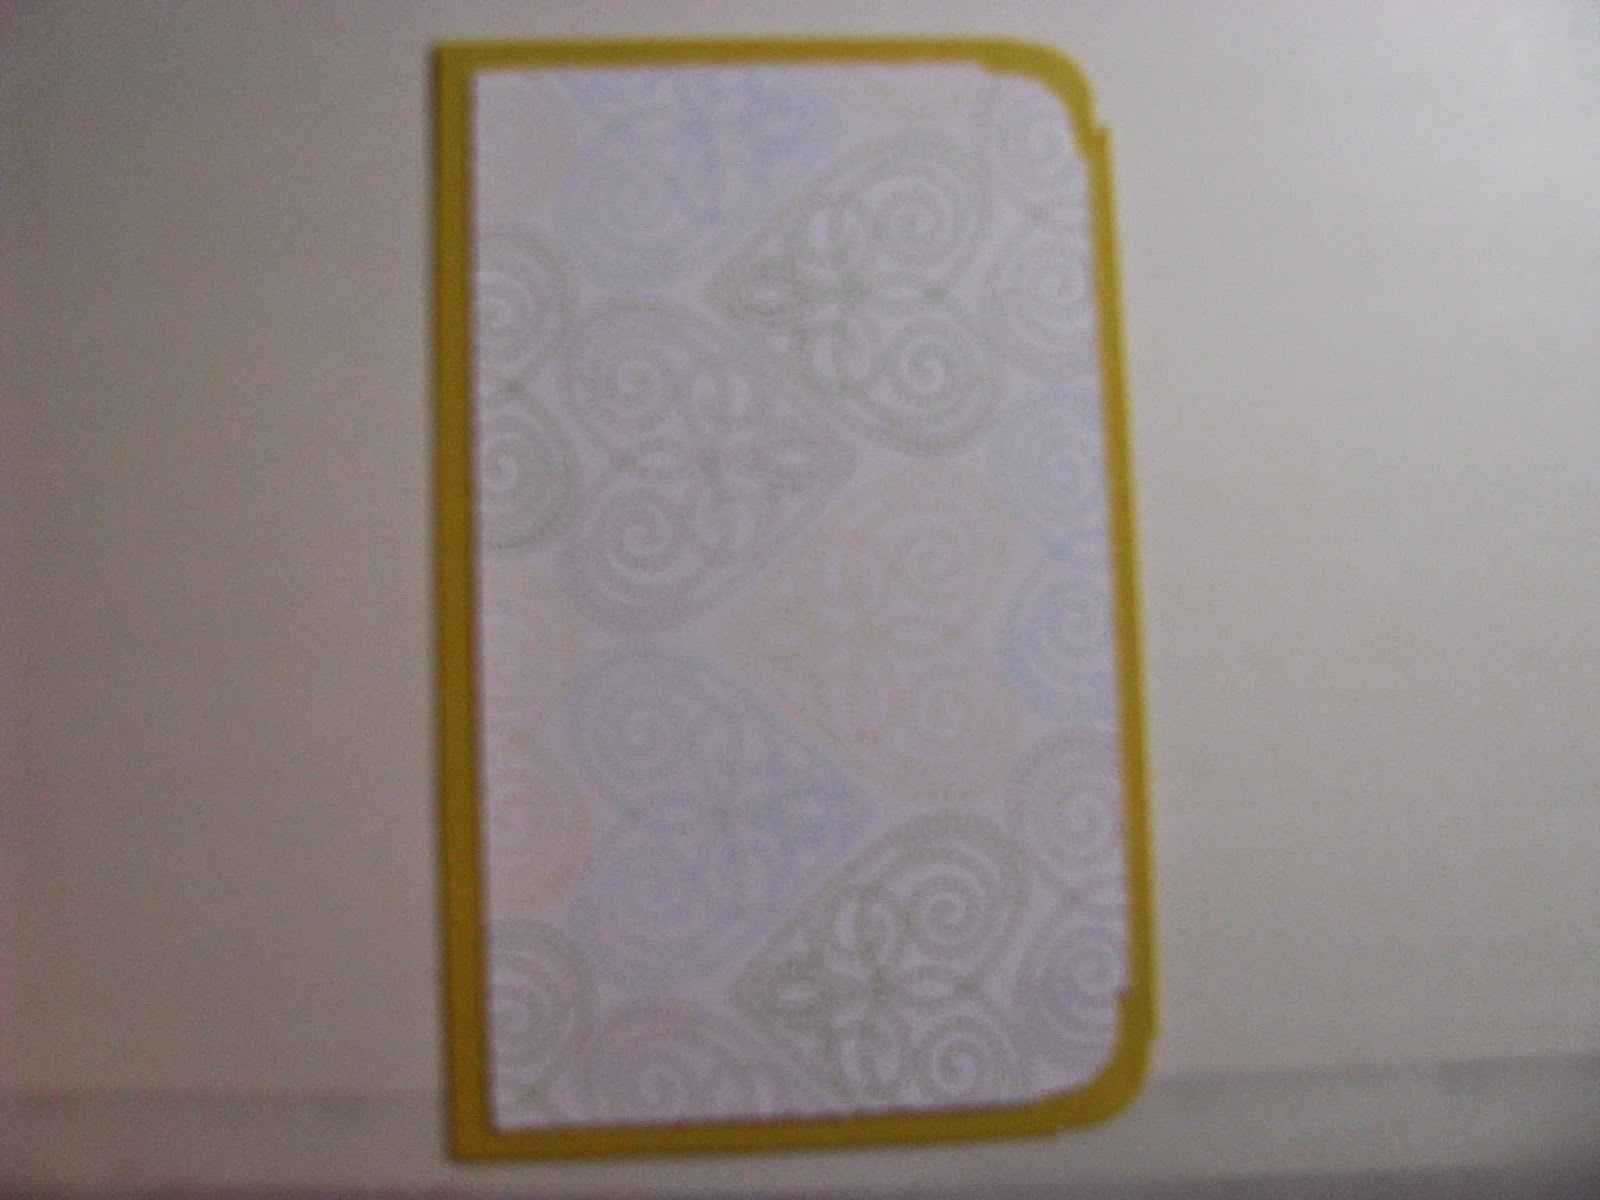
Patterned paper downloaded from www.cardmakingandpapercraft.com 4 x 5 1/4"
Birds of a Feather patterned paper (#126899 SU) 3 x 3 3/4', 1 1/2 x 3 3/4",  5 1/2" square
Marina Mist card stock 5 1/2 x 8 1/2"
White card stock
Tag from Quick Cards Magazine
Create a Cupcake stamp set (#121915)
Best of Birthdays stamp set (#132929)
Brights Brad collection (#119740)
Early Espresso ink
Pacific Point ink
Syamore Street 1/4" ribbon, Island Indigo (#130812, SU retired)
Corner Rounder punch
Hole punch
Stampin' Dimensionals

As you can see from my materials list, it's not unusual for me to use patterned papers or other items that are already retired or that might be from a source that is difficult for you to get. When you don't have access to the papers I use, just look through the papers that you do have. Find colors that go together and make it your own. You are the artist and you can create something wonderful. Just copy my ideas and put something together to make it your own. That's what I do!

1. Create your card front first. Cut the papers the sizes listed above. Round the corner on the 2 top  pieces. Place adhesive on the backs and put them in place. Each piece is about 1/4" from the top, bottom & between the two papers.
2. Adhere the tag to the top of the smaller patterned paper on the bottom of the card. Center the tag.
3. Punch holes on each side of the tag. Add brads that go with your colors. I used orange here to bring out the orange lettering on the tag.
4. Wrap the Island Indigo ribbon around the 3 x 3 3/4" piece of paper and tie it in a bow. I am not a good bow tie-er, so I do mine in 2 parts. I adhere a strip of ribbon to the paper first. Then I use another piece to tie the bow. I put it in place using glue dots. That just seems to work better for me.
5. Stamp the cupcake bottom and top on white card stock. I used Early Espresso for the icing and Pacific Point for the bottom. Cut the out. Adhere the bottom just above the ribbon. Place a Stampin' Dimensional on the back of the icing image. Press it above the cupcake bottom. 
6. Adhere this entire card front on to the Marina Mist card stock (scored & folded at 4 1/4") leaving a border all the way around.
Now you are ready for the inside.
7. It is easier to do all the decorating before you adhere the pop up piece in place. Cut and fold the pop up piece.
8. Cut out the birds from a piece of Birds of a Feather patterned paper. Adhere the birds onto the pop up piece. Look where the folds are for the piece. You will want to put adhesive on the tail 1/2" of the bird. Place the birds so that 1/2" of the bird is sticking across the fold part.
9. Stamp the greeting from the Create a Cupcake stamp set. Cut it out and adhere it across the center of the pop up piece. Fold the greeting card stock so that it will fold with the pop up. It just requires a little bit of looking to see where the folds are on the pop up piece.
10. Now you are ready to look back at the easy triangle pop up tutorial and adhere the pop up to the inside of the card base.
11. Use the random dots stamp from Create a Cupcake set to stamp Pacific Point dots randomly on the crd stock and the patterned paper.
12. Stamp a cupcake & saying from the Best of Birthdays set in Pacific Point ink on white card stock. Cut out around it. Adhere it to the right side of the card inside.
13. Be sure you check the fold several times to make sure that it does fold correctly in the card. If you have problems with it, look back through the tutorial to see where you might have gone wrong.
It's really an easy pop up so I don't think you'll have any problems.


Friday, May 2, 2014

Easy Hybrid Card

This card is super easy. All you need is to stamp a couple of things, cut out a digital image & put them together.
Materials needed:
Wild Wasabi card stock 4 1/4 x 5 1/2"
White card stock
Really Good Greetings stamp set (#130333)
Secret Garden stamp set
Old Olive ink
Coastal Cabana ink
Little Birds digikit from Craft Artist

1. Print out the frame from the Little Birds digikit on to white card stock. Cut loosely around the outside.
2. Stamp the greeting of your choice from the Really Good Greetings stamp set in the center of the frame using Old Olive ink.
3. Stamp the flower image of your choice on white card stock and Coastal Cabana ink. Cut it out.
4. Place a few Stampin' Dimensionals on the back of the cut out flower. Adhere it to the bottom right side of the frame.
5. Place the card front to a card base and you are ready.