Good Morning! I hope everyone had a fabulous Thanksgiving with family, friends, and time to thank God for the blessings He has given you. I am so thankful for my family and friends today. My sweet husband put up with me being basically gone from 8-6 every day from Nov. 18-25 as I worked the Operation Christmas Child National Collection Week at our Mid-Texas area collection center here in Temple, TX. I am so excited to tell you that we collected 12,025 shoe boxes from 5 Central Texas counties to go to children around the world. Every shoe box represents a child who will have the opportunity to hear and learn how Jesus Christ died for our sins and lives in heaven with the Father and in our hearts every day.
Here are some pictures of our week. Hope you enjoy them. No, I'm not in any of them. I'm the one behind the camera!
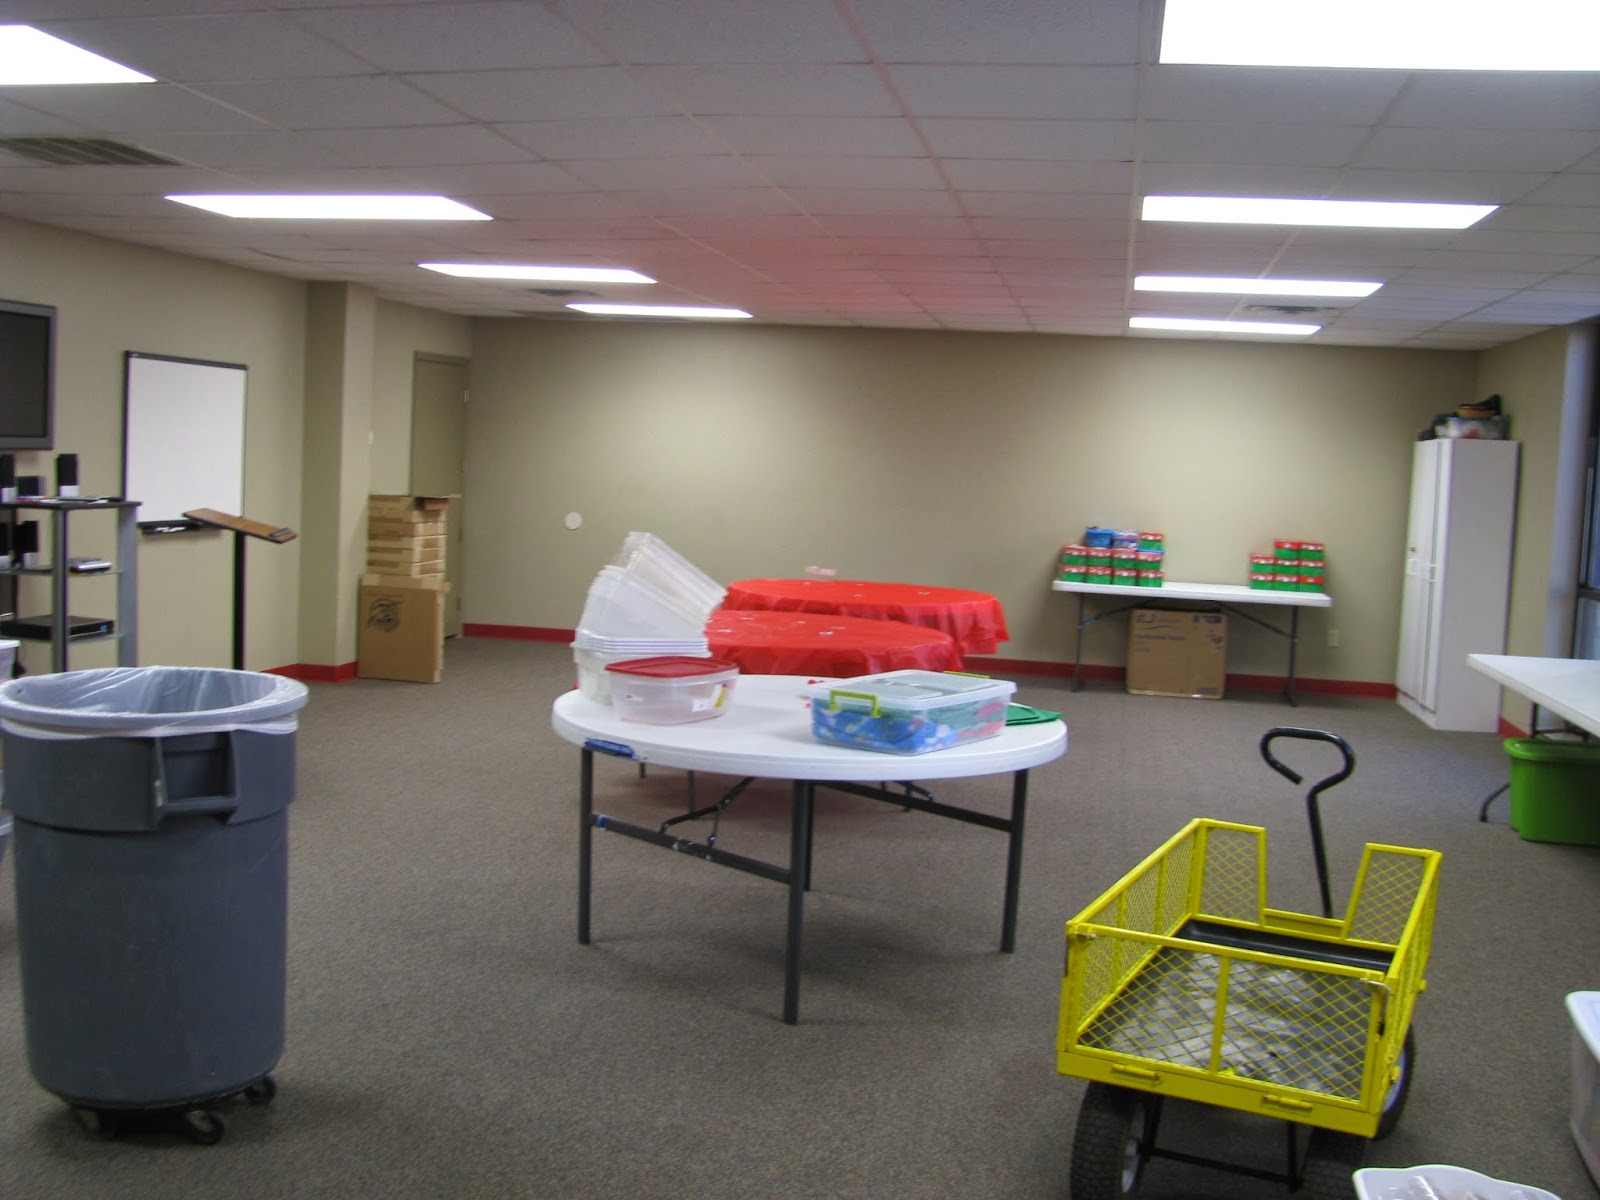
 Here's what our room looked like before we got started.
 This is Maye and Lanita getting ready to set things up for our packing party which lasted for 4 of the days.
 Cecelia is dumping candy into a tub to get it ready to be bagged for the shoe boxes.
 Monday, Nov. 18. The first day of Collection Week and the first day of our church's packing party. The green and red go boxes on the left & in the back are folded and ready to be packed. The boxes on the right are the ones that have already come in from members and from other churches. The center shows some of the items that we have ready for our volunteers to pack shoe boxes. Our church collects things all year round for our packing party. Immanuel Baptist packing party did 1500 shoe boxes plus the boxes brought in by members who didn't come to the packing party.
 Charles and John did a lot of work putting the shoe boxes in cartons and recording the numbers in each box.
 Two of our lovely volunteers packing shoe boxes.
 Mary looks over the color books to see which one she wants to put in her shoe box.
 We had lots of teddy bears for shoe boxes! Edna is taking all the plastic rings and tags off of each one of them.
 Cathy & Allen are processing our boxes. We had to make sure that every box had a boy/girl label and 2 strong rubber bands to hold them closed.
 At one point during the week, we had shoe boxes everywhere! We had to keep the church groups separate in order to record the numbers accurately. Here there are shoe boxes stacked in the foyer in 4 different places while the volunteers in our room processed the boxes. One gentleman said not to worry about "how many boxes there are. God knows the numbers." That is certainly true but the US government likes to know exactly what non-profits are doing. Therefore, all the numbers have to match!
 Milie, from Fellowship Baptist in Morgan's Point, brought her churches shoe boxes in. Like I said above, we had people bring shoe boxes from all over Central Texas to our collection center.
All of these boxes will go to a regional processing center where they will be checked to be sure there are no breakables, liquids, or war toys. Then they will be sent to poor children in over 130 countries around the world. Praise God from whom all blessings flow!
Here are some pictures of our week. Hope you enjoy them. No, I'm not in any of them. I'm the one behind the camera!


All of these boxes will go to a regional processing center where they will be checked to be sure there are no breakables, liquids, or war toys. Then they will be sent to poor children in over 130 countries around the world. Praise God from whom all blessings flow!


