Friday, December 13, 2013

All Bundled Up Girl

Here's another of the simple cards. These are quick and easy to make on these busy days before Christmas.

Materials needed:
Greeting Card Kids stamp set (#120633)
Teeny Tiny Wishes (# 128748)
Old Olive card stock 4 1/4 x 5 1/2"
Real Red card stock 2 x 41/4" (plus a scrap)
Whisper White card stock
Watercolor Pencils (#101879)
Blender Pen
Word Window Punch (#119857)
Modern Label  Punch(#119849) 
3/16" Corner Punch (#119871
Basic Black ink
Real Red ink
Stampin' Dimensionals (104430)       

1. Adhere the Real Red piece of card stock across the Old Olive card stock as shown.
2.  Stamp the little girl image from Greeting Card Kids on to white card stock. Cut it out to measure about 2 x 2 1/2." Use the Corner Punch to round the corners.
3. Use the Watercolor Pencils and the blender pen to color the image how you like.
4. Put Stampin' Dimensionals on the back of the image and mount over the Real Red card stock.
5. Stamp the happy birthday stamp from Teeny Tiny Wishes on white card stock in Real Red ink. Use the Word Window Punch to punch it out. Punch a Modern Label from Real Red card stock. Adhere this to the bottom center of the card.
6. Adhere the card front to a card base and you are ready to go with another simple birthday card for those December birthdays.                                                                                                                                                                                   

Wednesday, December 11, 2013

Razzleberry Poppies

I decided that with the season being so very busy with parties and events that I would go with some simpler cards that still look nice. I pulled out some old page maps that I haven't used for a while. For a few days, you can have my take on some of these.
Materials needed:
Rich Razzleberry card stock 4 1/4 x 5 1/2"
Baked Brown Sugar card stock
Whisper White card stock
Pleasant Poppies stamp set (#129499)
Best of Birthdays stamp set (#132929)
1 3/4" Circle Punch (#119850)
2 1/2" Circle Punch (#120906)
Dotted Scallop Ribbon Border Punch  (#119275)

1. Stamp a section of the Pleasant Poppies stamp on white card stock with Rich Razzleberry ink. Cut that out with the 1 3/4" circle punch.
2. Cut out a 2 1/2" Circle from Baked Brown sugar card stock. Adhere the poppies circle in the center of the Brown Sugar circle.
3. Adhere the circles in the upper center of the Rich Razzleberry card stock.
4. Using white card stock and the dotted Scallop Ribbon Border Punch, punch out a ribbon strip 4 1/4" long.
5. Stamp the "celebrate" greeting in Rich Razzleberry ink on the center of the punched card stock ribbon.
6. Adhere this on to the bottom of the Rich Razzleberry card stock.
7. Place the card front onto a card base and add your greeting to the inside. Be sure you sign your art work!


Monday, December 9, 2013

Christmas Colored Birthday

This birthday card has shades of reds for a December birthday!
Materials needed:
Raspberry Ripple card stock 4 1/4 x 5 1/2"
Real Red card stock 1 x 5 1/2"
Melon Mambo card stock 1 x 5 1/2"
Pink Pirouette card stock 1 x 5 1/2"
White card stock scrap
Strawberry Slush In Color ink
Best of Birthdays stamp set (#132929)
Subtles Candy Dots (#130933)
1 3/8" Circle punch (#119860)
Small Heart punch (#117193)
Stampin' Dimensionals (#104430)

1. Use the 4 1/4 x 5 1/2" card stock for your base for the card. I put Raspberry Ripple as that size but it can actually be any one of the colors. You will just leave the space for that color empty.
2. Starting at the top with the lightest color, adhere the strip of pink card stock at the top of the card. Adhere the next shade (for mine it's the Melon Mambo) to the card stock with it joining the pink strip, edge to edge.
Do the same with the Real Red. That will leave the Raspberry Ripple without a strip over it.
3. Punch 3 small hearts with 3 different shades of the leftover card stock or with a patterned paper that is the same shade as the card stock. Place a pink Candy Dot on each heart. Put a Stampin' Dimensional on the back of each heart. Place each heart where two shades join each other.
4. On white card stock, stamp your cake slice and greeting in Strawberry Slush ink. Punch it out with the 1 3/8" circle punch. Rub the edge across the stamp pad to leave strawberry ink on the edge of the circle. Adhere it on the bottom right side of the card.
5. Add this to a card base with your greeting or note on the inside. Send out those birthday wishes!
You might be surprised how many people with December birthdays don't get cards, etc for their birthday because it is so close to Christmas. Let them know that you still think about them too.

Friday, December 6, 2013

Dahlias Congratulations

There are many things that we can send "congratulations" for. This one will go to a former student who is getting married in about a month. Her shower is this Saturday so I made this to go with her gift.
Materials needed:
Very Vanilla card stock 4 1/4 x 5 1/2," 3 3/4 x 4" and some extra for stamping on
Coastal Cabana card stock 4 x 5 1/4"
Regarding Dahlias stamp set (#130327)
Perfect Punches stamp set (#120516)
Pretty Print embossing folder (#132175)
Very Vintage Designer Buttons (#129327)
Modern Label punch (#119849)
Coastal Cabana ink
Glue dots (#103683)
Stampin' Dimenionals (#104430)
Embroidery floss, beige


1. Cut the card stock to the dimensions listed above.
2. Place the smallest of the Very Vanilla card stock  in the Pretty Print embossing folder and run it through your Big Shot machine.
3. Layer the 3 card stock pieces and adhere together. Each one will have a 1/8" border around it.
4. Stamp the congratulations greeting from Perfect Punches on Very Vanilla card stock with Coastal Cabana ink. Use the Modern Label punch to punch it out. Adhere it to the top left side of the card.
5. Stamp the dahlia stamp on Very Vanilla card stock with Coastal Cabana ink. Cut it out close to the petal edges. Add Stampin' Dimensionals to the back and place it on the right side of the card.
6. Thread embroidery  floss through the button holes. Add glue dots to the back and adhere it to the bottom left side of the card.
7. Place the card front on to a card base and add a greeting.

Wednesday, December 4, 2013

Simple & Bright Birthday

This is a simple card that conveys a happy message.

Materials needed:
Polka Dot Parade patterned paper (#126902) 4 x 5 1/4"
Whisper White card stock 5 1/2 x 8 1/2"
Bermuda Bay card stock 2 pieces each 1 1/2 x 3 1/2"
Real Red card stock 2 pieces each about 1 x 2"
Hung Up Cute Clips (#129389)
Teeny Tiny Wishes stamp set (#115370)
Bermuda Bay ink

1. Score and fold the white card stock at 4 1/4." This is your base card that we will build on.
2. Adhere the Polka Dot Parade patterned paper on to the front fold of the white card stock. Center it so that you have a border all the way around.
3. Stamp your birthday greeting in Bermuda Bay ink on white card stock scraps. Cut the greeting in half so that one piece says "happy" and the other piece says "birthday."
4. Tear the edges of the Real Red card stock to look rough. Adhere the words from #3 angled in the center of the red card stock. Adhere the red card stock at an angle on the Bermuda Bay card stock.
5. Place a clip from the Hung Up Cute Clips on each piece of Bermuda Bay. Put adhesive on the back of the Bermuda Bay card stock, going over the clips with the adhesive. Angle these to overlap on the Red Polka Dot Parade patterned paper.
6. Now add your greeting or note to the inside and you are ready to mail.

Monday, December 2, 2013

Striped Birthday Ribbons

Materials needed:
Bermuda Bay card stock 4 1/4 x 5 1/2"
Whisper White card stock 4 x 5 1/4"
International Bazaar patterned paper (#126920) 3 3/4 x 5"
Best of Birthdays stamp set (#132929)
Every Little Bit stamp set (#120558)
3/16" Corner punch (#119871)
1 1/4" Circle punch (#119861)
3/8" Midnight Muse Satin Stitched ribbon (#126847)
Tangerine Tango ink
Stampin' Dimenionals (#104430)

1. Use the corner punch to round the corners on the white card stock and the patterned paper.
2. Cut pieces of ribbon 2", 2 3/4" and 3 1/4." Place adhesive on the back of the ribbons. Adhere them to the front of the patterned paper as shown in the picture. Wrap the ends around to the back of the paper.
3. Layer the papers with Bermuda Bay on the bottom, then white card stock, and finally the patterned paper.
4. Choose 3 images from the stamp sets to use. Stamp the images in Tangerine Tango ink on white card stock.
5. Punch the images out with the 1 1/4" circle punch. Add Stampin' Dimenionals to the back of each circle. Place these on top of the ends of the ribbons.
6. Adhere the card front to a card base and add a birthday or other greeting to the inside.

Sunday, December 1, 2013

Sunday Share

Good Morning! I hope everyone had a fabulous Thanksgiving with family, friends, and time to thank God for the blessings He has given you. I am so thankful for my family and friends today. My sweet husband put up with me being basically gone from 8-6 every day from Nov. 18-25 as I worked the Operation Christmas Child National Collection Week at our Mid-Texas area collection center here in Temple, TX. I am so excited to tell you that we collected 12,025 shoe boxes from 5 Central Texas counties to go to children around the world. Every shoe box represents a child who will have the opportunity to hear and learn how Jesus Christ died for our sins and lives in heaven with  the Father and in our hearts every day.
Here are some pictures of our week. Hope you enjoy them. No, I'm not in any of them. I'm the one behind the camera!

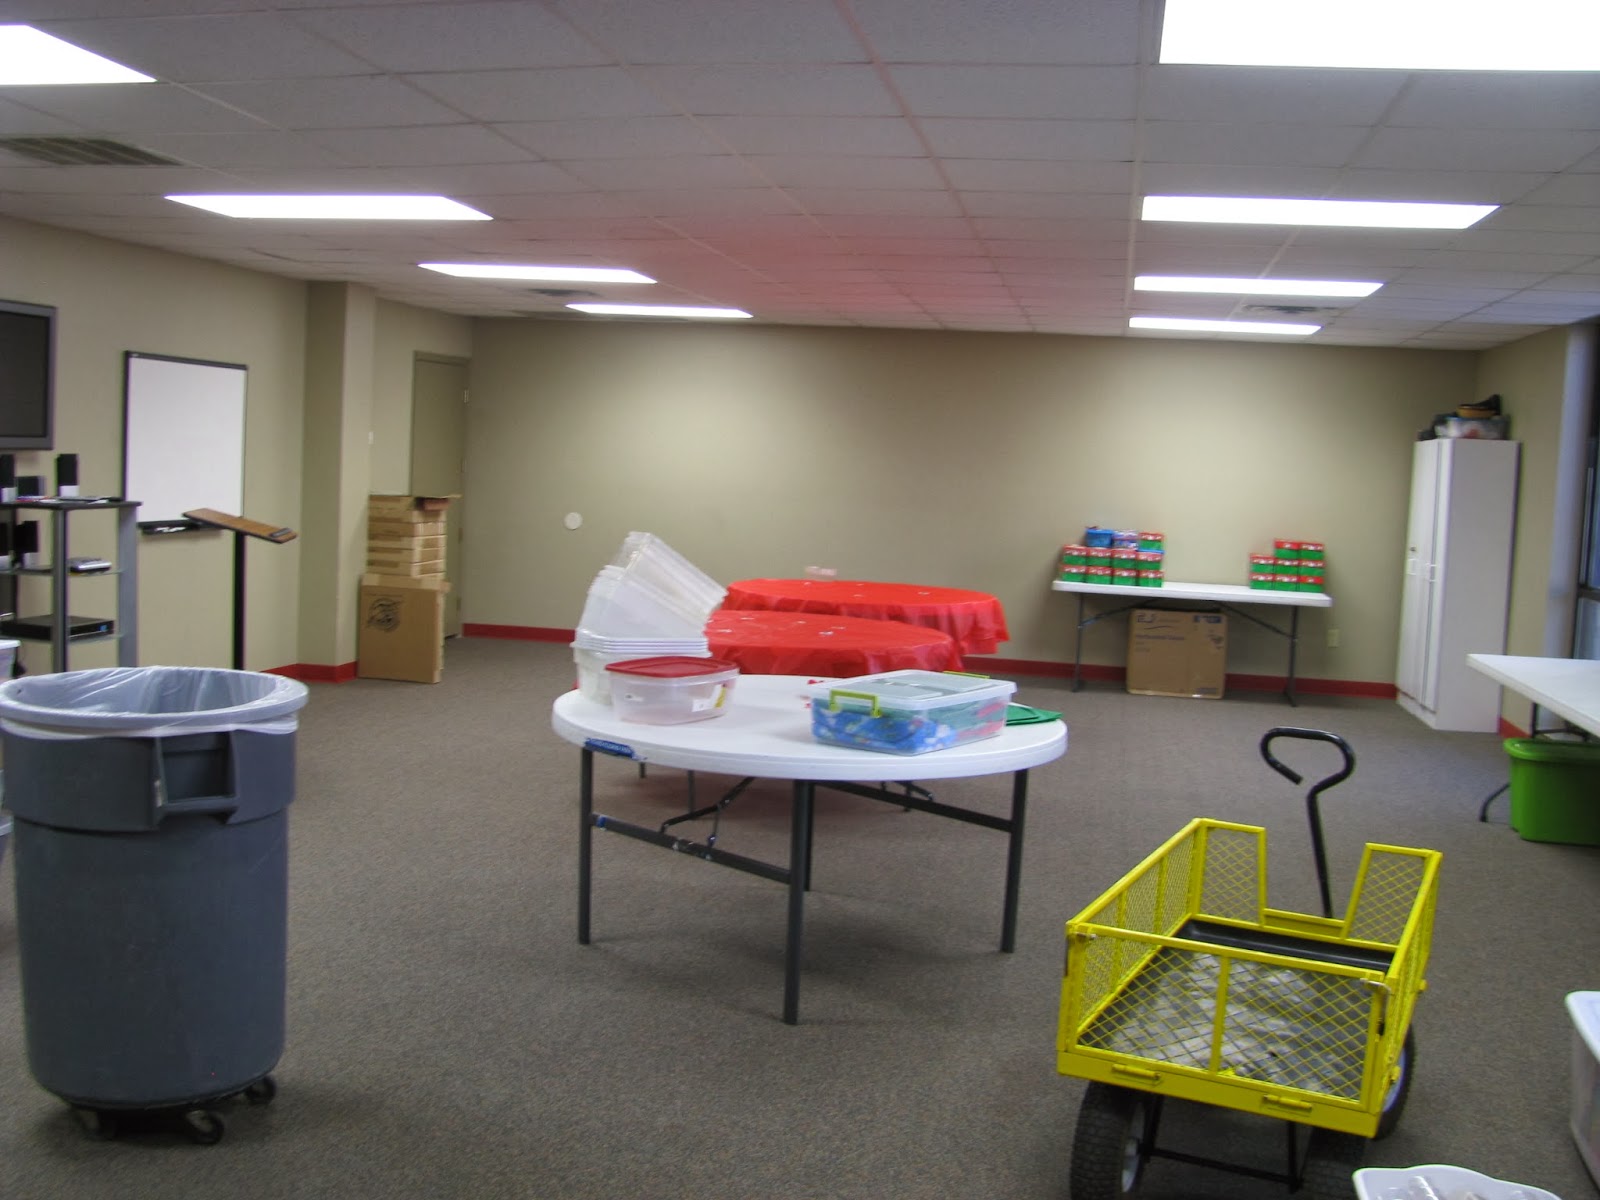
 Here's what our room looked like before we got started.
 This is Maye and Lanita getting ready to set things up for our packing party which lasted for 4 of the days.
 Cecelia is dumping candy into a tub to get it ready to be bagged for the shoe boxes.
Monday, Nov. 18. The first day of Collection Week and the first day of our church's packing party. The green and red go boxes on the left & in the back are folded and ready to be packed. The boxes on the right are the ones that have already come in from members and from other churches. The center shows some of the items that we have ready for our volunteers to pack shoe boxes. Our church collects things all year round for our packing party. Immanuel Baptist packing party did 1500 shoe boxes plus the boxes brought in by members who didn't come to the packing party.
 Charles and John did a lot of work putting the shoe boxes in cartons and recording the numbers in each box.
 Two of our lovely volunteers packing shoe boxes.
 Mary looks over the color books to see which one she wants to put in her shoe box.
 We had lots of teddy bears for shoe boxes! Edna is taking all the plastic rings and tags off of each one of them.
 Cathy & Allen are processing our boxes. We had to make sure that every box had a boy/girl label and 2 strong rubber bands to hold them closed.
 At one point during the week, we had shoe boxes everywhere! We had to keep the church groups separate in order to record the numbers accurately. Here there are shoe boxes stacked in the foyer in 4 different places while the volunteers in our room processed the boxes. One gentleman said not to worry about "how many boxes there are. God knows the numbers." That is certainly true but the US government likes to know exactly what non-profits are doing. Therefore, all the numbers have to match!
Milie, from Fellowship Baptist in Morgan's Point, brought her churches shoe boxes in. Like I said above, we had people bring shoe boxes from all over Central Texas to our collection center.
All of these boxes will go to a regional processing center where they will be checked to be sure there are no breakables, liquids, or war toys. Then they will be sent to poor children in over 130 countries around the world. Praise God from whom all blessings flow!