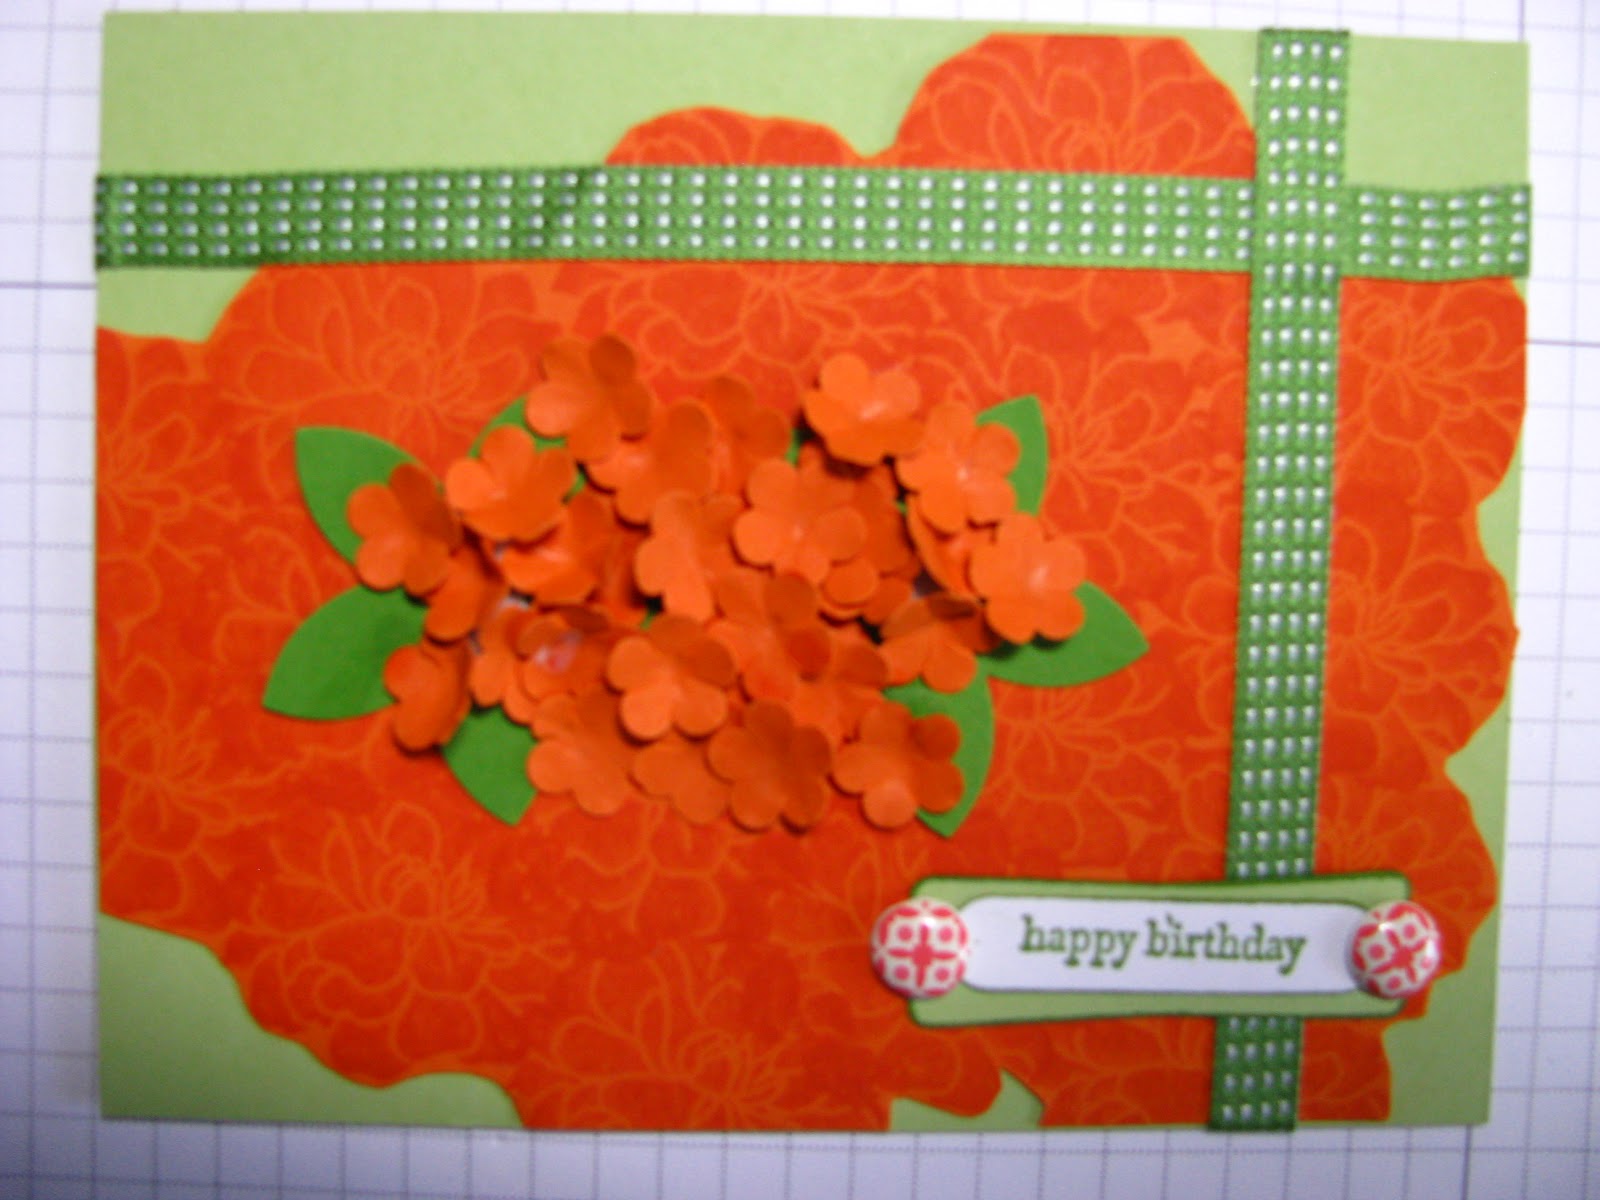
- Use a 4 1/4 x 5 1/2" piece of Certainly Celery cardstock for your background.
2. On a piece of 4 1/4 x 5 1/2" Tangerine Tango cardstock, stamp repeated flowers all over the cardstock with Tangerine Tango ink. This tone on tone look gives you a nice solid garden look.

4.  With the Trio Flower punch (#109183) from the 2009 SU! catalog, punch about 36 flowers. Since this punch is no longer available, if you don't already have it, you could use the Itty Bitty Shapes Punch(#118309). This punch has 3 shapes on it, one of which is a bitty scallop circle. It is very close to the same size as the trio flower. It will probably give you a slightly different look, but I think that it would still work fine.
 With the Trio Flower punch (#109183) from the 2009 SU! catalog, punch about 36 flowers. Since this punch is no longer available, if you don't already have it, you could use the Itty Bitty Shapes Punch(#118309). This punch has 3 shapes on it, one of which is a bitty scallop circle. It is very close to the same size as the trio flower. It will probably give you a slightly different look, but I think that it would still work fine.
5.  Punch 2 flowers with the 5 petal flower punch (119880). This punch is designed for flowers but I've always thought it made great leaves. This punch is retired also but SU! has a punch called Blossom Petals Builder(#121808). It has several shapes on it that would be good for leaves also.
 Punch 2 flowers with the 5 petal flower punch (119880). This punch is designed for flowers but I've always thought it made great leaves. This punch is retired also but SU! has a punch called Blossom Petals Builder(#121808). It has several shapes on it that would be good for leaves also.
6. Place the leaves on top of the Tangerine Tango images that you stamped. You will want them to be a bit to the right of center.
7. Place 2 Stampin' Dimensionals(#104430) on each leaf. They do not have to be center. With a little experimenting, I found that 2 works a lot better than just one for the dimension that you want for this project.
8.  Using the end of an embroidery hook and a soft mouse pad, push into the center of each petal. You want to give the petals some curve to make them somewhat concave in shape. There may be tools especially made for this purpose, but I've found my embroidery hook works just as well.
 Using the end of an embroidery hook and a soft mouse pad, push into the center of each petal. You want to give the petals some curve to make them somewhat concave in shape. There may be tools especially made for this purpose, but I've found my embroidery hook works just as well.
  9. Doing the petals one at a time, place 2 or 3 petals on each of the dimensionals that you placed on the leaf. With the other petals, place a dot of liquid or school glue on the back of each petal, still working one at a time. Place the petal around the petals that you've already put on the dimensionals. You will want to overlap these and even place some on top of others until you have the look you want. I have some tweezers that I've had for years that I just love to use for working with small pieces.
10. Allow the petals about a 1/2 hour for the glue to dry before you continue.
11.  Cut 2 pieces of 3/8" Gumball Green Satin Stitched Ribbon(#126848), one piece about 4 1/2" and the other piece about 6." Apply adhesive to the back of the ribbons and place them on the right and top of the card, overlapping at the corner.
 Cut 2 pieces of 3/8" Gumball Green Satin Stitched Ribbon(#126848), one piece about 4 1/2" and the other piece about 6." Apply adhesive to the back of the ribbons and place them on the right and top of the card, overlapping at the corner.
13. Punch it out with the Word Window punch(#119857). Ink the edges with Gumball Green ink.
14. Punch out a Modern Label punch(#119849) from Certainly Celery cardstock. Ink the edges wotj Gumball Green ink.
15. Adhere the greeting on top of the Modern Label punch.
16. Punch a hole at each end with your 3/16" circle punch.
17.Add a brad from the Everyday Enchantment Brad set (#126126) that was in the 2012 Sale-a-Bration catalog. If you don't have those, SU! has some fabulous new brads available this year in patterns. I just love, love, love patterned brads!
18. Attach this onto you Whisper White card base and you are ready to give it away!


